What is a cake crown?
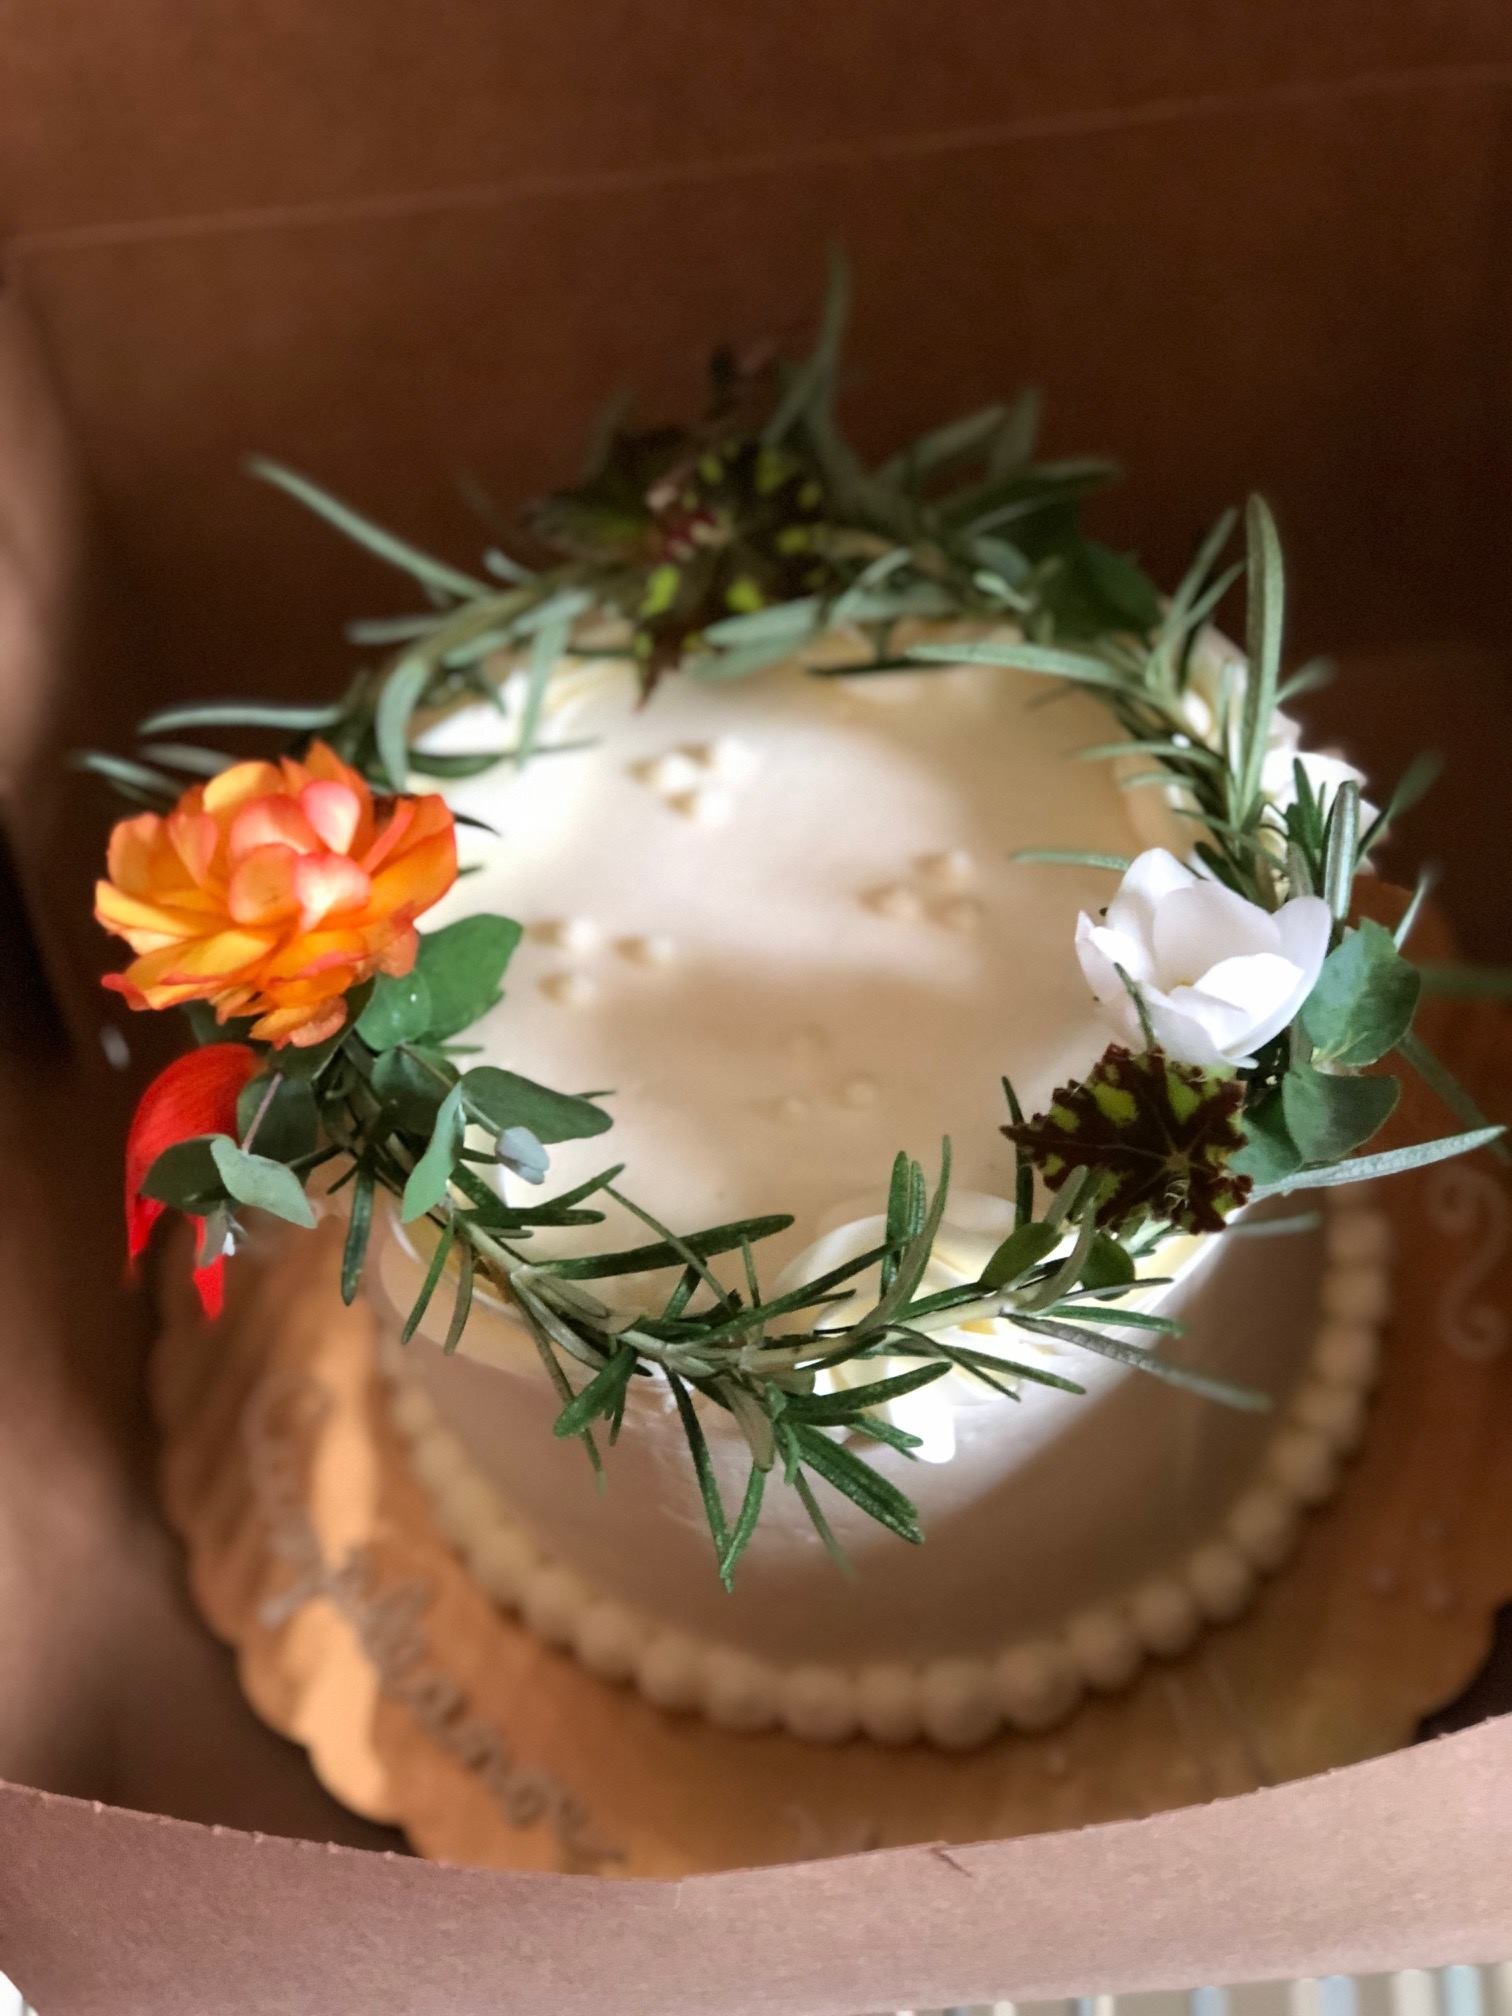
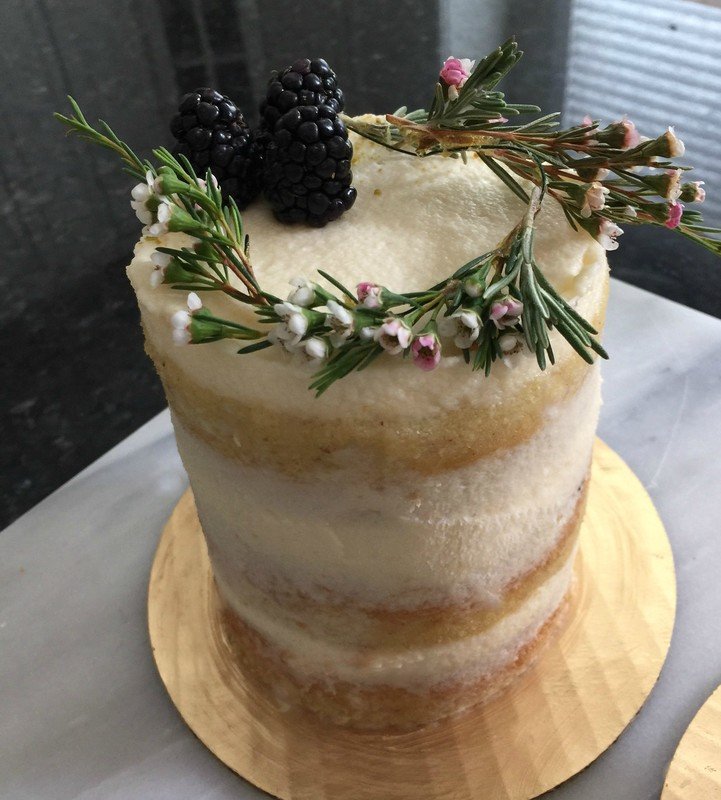
A cake crown is a mini cake topper wreath created from tiny herb cuttings, foliage sprigs, and fresh or dried flowers. Many people place wreaths on top of cakes or pies for special occasions. But try not to be too restrictive because a cake crown can be used anywhere. These little wreaths, which generally measure anywhere from 4”-10” in diameter, can adorn a fancy cake but you can also use smaller versions as napkin rings for a dinner party, or just to adorn your table settings as a substitute for flowers. They can also accentuate centerpieces like a small pumpkin in autumn or a vase full of candy canes in winter. Below is a time-lapse of me creating a cake crown.
Time-lapse video of Kim Bensing creating a cake crown or mini wreath.
what you’ll need
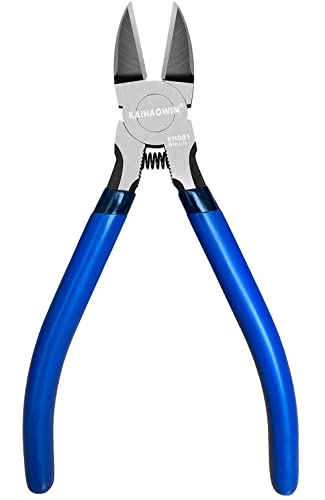
You first need to buy green florist wire. I’ve used 22” gauge for my work and I buy green so that it’s somewhat hidden when I create my wreaths, but if you already have a flexible wire you’d like to use up and it’s not green, that will be fine. Just be sure it’s clean and unused. You’ll also need small wire cutters, floral adhesive, and your favorite flower snips.
Supply list
Sturdy Greens & Foliage such as:
-Boxwood
-Rosemary
-Eucalyptus
A few mini fresh or dried flowers buds and pods:
(a few suggestions)
-Begonia
-Lavender
-Ranunculus
Green Florist Wire
Wire Cutters
Floral Snips
Flexible Ruler (is helpful but not required)
Floral Adhesive (Oasis is a reliable brand that I use)
How to make a cake crown topper or mini wreath
For a cake crown that’s approximate 6” in diameter, you’ll need to cut approximately 12.5” of wire from the roll to form your circle. Approximately 1/2” of wire will wrap around the other end and provide enough security so that it stays together on top of the cake. The wire measurement will vary depending on the use of your wreath. Because I often create crowns for cakes that vary in size, I like to use a flexible ruler to measure my wire rings precisely when I am creating a specific 6”, 8” or 10” cake. This way the cake crown fits the top nicely without looking too small or being so large that it hangs awkwardly over the edges.
-Gather all of your supplies, flowers, and greenery on the table in front of you. Snip your greens and flowers so they are a workable size and easy to use with your desired wire frame. I always prepare a small work surface with a piece of paper towel or a paper plate. The paper plate is best because it provides a round work surface. It also prevents the adhesive from getting on your countertop or table.
-Place approximately 3 small dabs of floral adhesive, on the back of 2 of the base greens and let that set for about 30 seconds. Then, place them on the wire, glue side down, facing in the same direction. Hold with fingers for about one minute or until they stay firm when you lift your hand. The sprigs are generally very small so it doesn’t take much pressure to dry as long as the adhesive hits the wire and you wait long enough.
-Once the first pieces adequately adhere, just continue around until the entire wire is covered with your desired greens & foliage. You can tuck the beginning stems of one under the ends of another as you go. Do not place the colorful flowers just yet.
-When the greens are all in place and have a few minutes to solidify, you are ready for your focal flowers.
-Small, tight flowers and mini buds or pods that you can gather easily from your garden or even hanging plants are best for this next step. Dried flowers work well in the winter. I like to use strawflower that I saved in the fall because it retains its color well. I am also not afraid to throw in interesting grasses and pods that I find. Just make sure they don’t drop seeds or shed petals because you would not want that on your cake.
Try to use flowers and herbs that are in season but have not been sprayed with pesticides and always be sure to learn which flowers may be toxic or even poisonous. Avoid those! Remember, the purpose of your cake crown is decoration only. Please inform your recipients: The cake crown is NOT TO BE CONSUMED.
Also, consider if the flower or herb will hold up okay out of water. Some are sturdier than others. Avoid flowers and herbs that wilt easily as these will not look great an hour after the wreath is finished. I usually keep the cake crowns refrigerated before placing them on the cakes just so the flowers stay really fresh. Remember it’s best to choose a refrigerator without food because bacteria from the food will wilt flowers.
-Now begin adhering the little flower buds, pods, and colorful herbs with just a small dab of glue. Go all around the wreath and add a flower wherever you choose. Try not to add too many. Some of the simplest designs look best.
These freshly made cake crowns usually last in the fridge for a few days. I look forward to seeing what you can create so please leave a comment and share photos. If you are local to Bucks County, PA, I am always available to make one for you. Just give me a call or send a text. All supplies are linked below for your convenience.
HIRE A DESIGNER OR CREATE YOUR OWN
Click here to see more examples of how to use flowers and herbs to decorate cakes and for a price list for completed designs.
Learn: How cakes have been decorated throughout the ages!
Create: Tie together a small gathering of sprigs or create a cake crown and place it on your next cake.
Inspire: Take photos, and attach them to the comment section of this blog.
If you are enjoying this, please sign up to receive my updates here - And find me on Instagram @Studiosprig -Kim Bensing, Art Director
I’m always here to help you with your creative journey. Please sign up to receive blog post notifications and follow Studio Sprig on Instagram, Facebook, and Pinterest. I look forward to connecting. If you’re a blogger, what’s your favorite SEO Tool? I’ve had much keyword success with RankIQ. Learn more here. - Kim
Cake Crowns designed by: Studio Sprig
Cakes: One Sweet Baking Co.
Disclosure: I am an Amazon Associate and will sometimes offer affiliate links. The price you pay will be the same whether you use the affiliate link or go directly to the vendor’s website using a non-affiliate link. Thank you.


