Herbs and spices are so beneficial to our health and add fantastic flavor to our food but have you seen how much they cost right now? Check out the spice aisle the next time you’re at the grocery, it’s astounding. Just yesterday I went to buy 4 spices and dried herbs and I honestly asked customer service what was going on. The poor woman was unsure but mumbled something about Covid or possibly Ukraine. I don’t think she knew. So I bought what I needed, came home, and decided to dig up an old post about the herbs I grow and process here at Windy Hill and bring it back to life. I hope you enjoy.
An Herb Garden
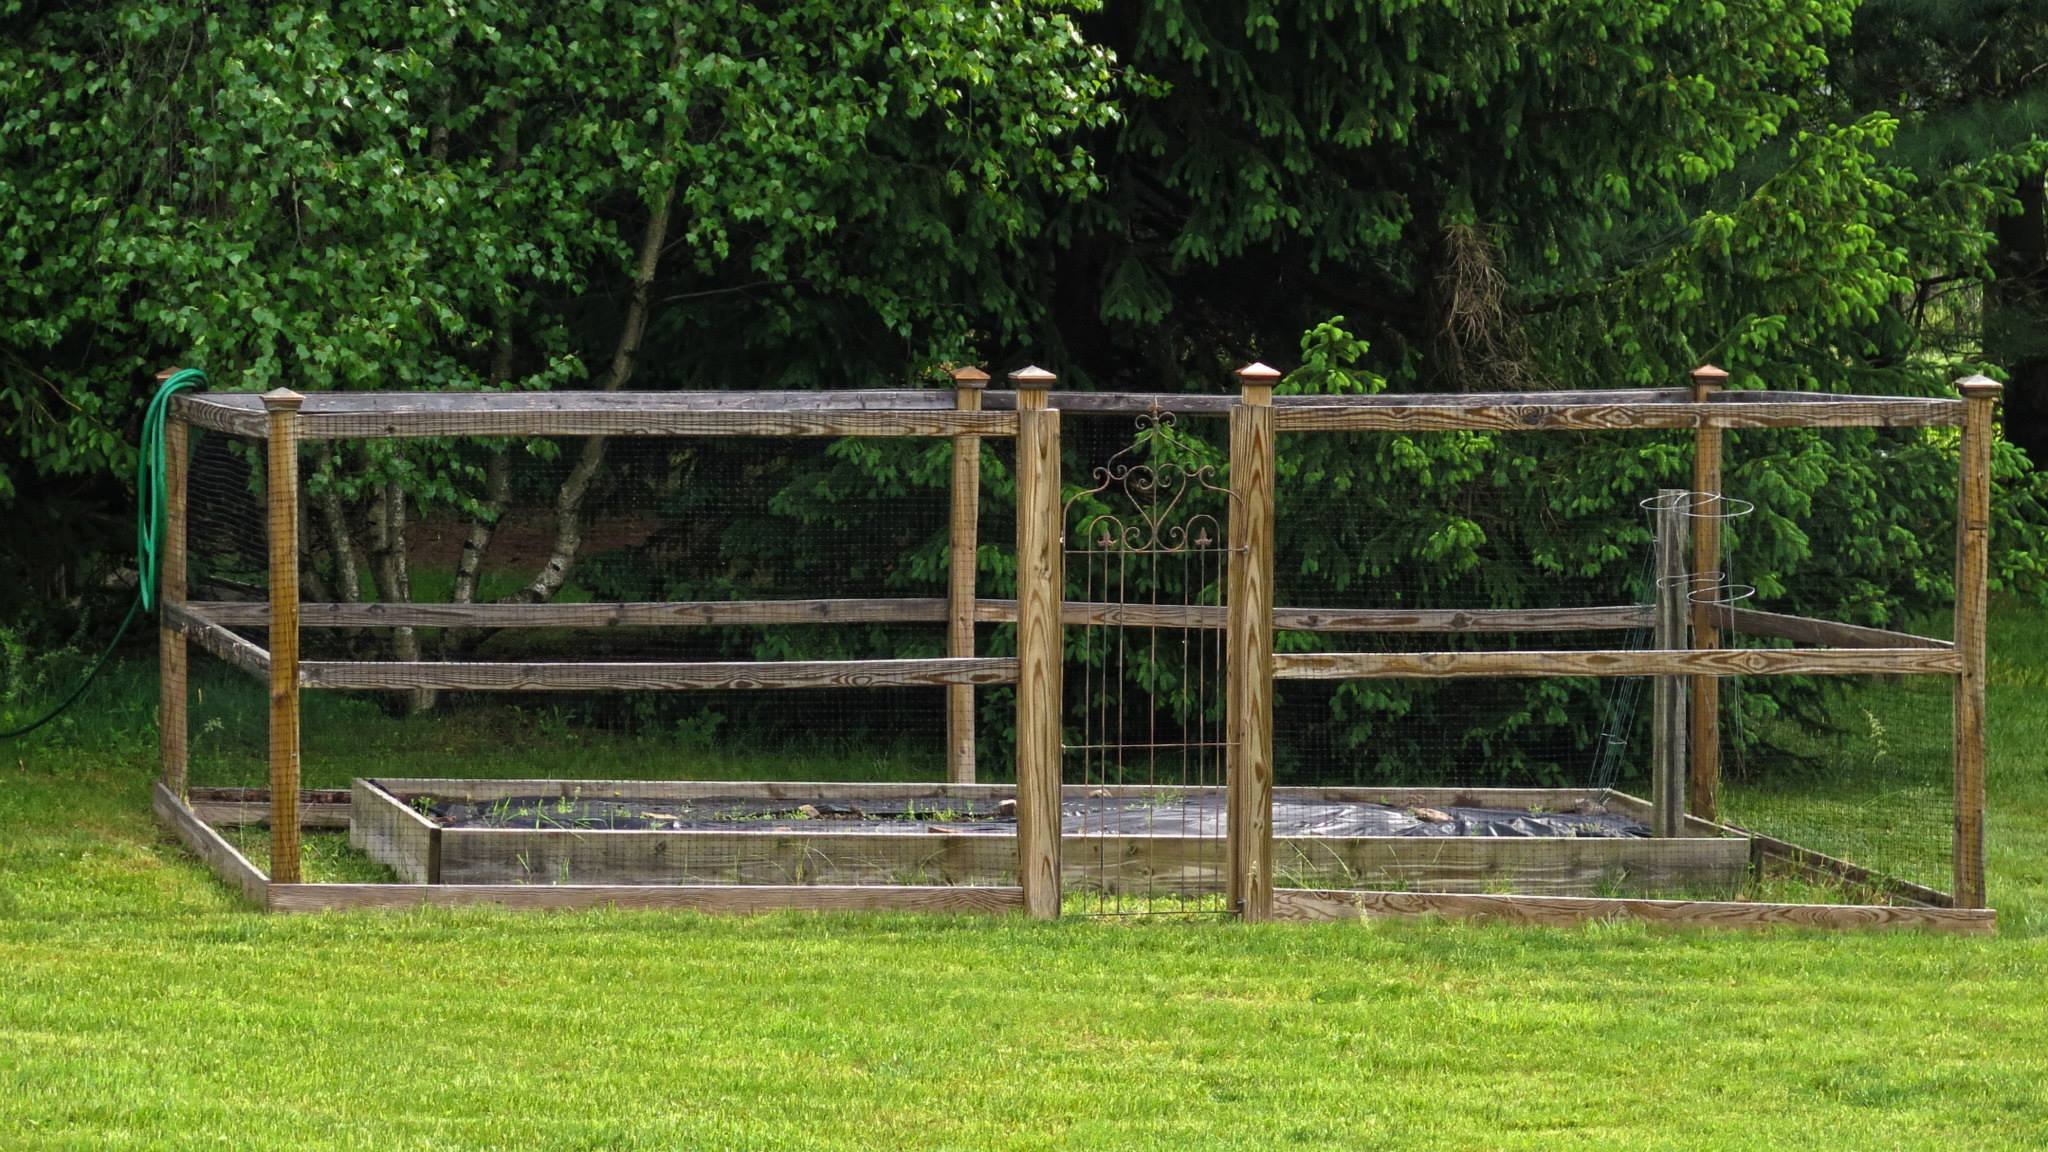
Years ago we had this little enclosed garden built because, here in Pennsylvania, our deer problem is REAL. I love seeing them daily, but they come in nightly and decimate most of our flowers and plants. We commissioned a local carpenter to build this outer garden structure and raised bed. I found a vintage flower trellis, sawed off the legs, and hung it at the entrance to serve as my door. At first, I used it to grow flowers and some vegetables but in recent years it has become the home sweet home for my herb garden.
In this garden, I grow many of the standards we all love, Oregano, Parsley, Chives, Rosemary, Thyme, Eucalyptus, Catmint, Lemon Verbena, Bee Balm, Dill, Marjoram, Chamomile, and Basil. Every spring I try to add something new and different after I see what comes back. It’s a very pleasant plot that really comes in handy for cooking and even sometimes in flower arrangements.
Windy Hill’s gated garden in early spring.
Herbs for cooking and decor
It’s true, I use many of these fresh herbs when I cook but I also sell them to local bakeries where they use them to adorn their cakes or other desserts. When requested, I also use fresh herbs to create cake crowns or wreaths for special occasions.
Cake: One Sweet Baking Co.
Cake: One Sweet Baking Co.
Scatter the herbal Goodness
Because I also try to use all of Windy Hill Farm, I plant herbs all around the property. Like you, I’ve been warned about the hazards of mint but sometimes I just plant it anyway as it’s a better ground cover than nothing and it keeps our honey bees happy. Here is a little patch of mint that grows next to our cottage. It’s November, but it’s still going strong. Mint is great for tea, salad, bouquets, or just a snack.
There is a great big patch of lemon balm, a less-known member of the mint family, that was growing in our backyard for probably hundreds of years! In 2016 I added some apple mint to the patch because I wanted that sturdy and tall apple mint for my arrangements for Studio Sprig. My daughter then painted a wooden sign to say “Lemon Balm Lane”, which I hammered right into the ground. I use the abundant lemon balm to make pesto when I’m low on basil. It smells great in bouquets and salads and makes for a nice little jar of scent to give to a friend for their kitchen window. The apple mint is flourishing and it usually makes its appearance in vase arrangements as a beautiful filler.
Everyone’s Beloved lavender
Next to our barn at Windy Hill is a mini rock wall upon which I planted some lavender. Everyone knows how nice it is to have lavender that you can just cut whenever you want. Find a good spot and try planting some in the spring. This area by our barn has good drainage and stays pretty dry, so this Mediterranean herb seems to like it here. After some harsh Pennsylvania winters, I sometimes need to replenish some of the plants, but over the last few, the lovely perennial has been mighty and strong.
Windy Hill’s barn rock wall of lavender.
Enjoy drying herbs
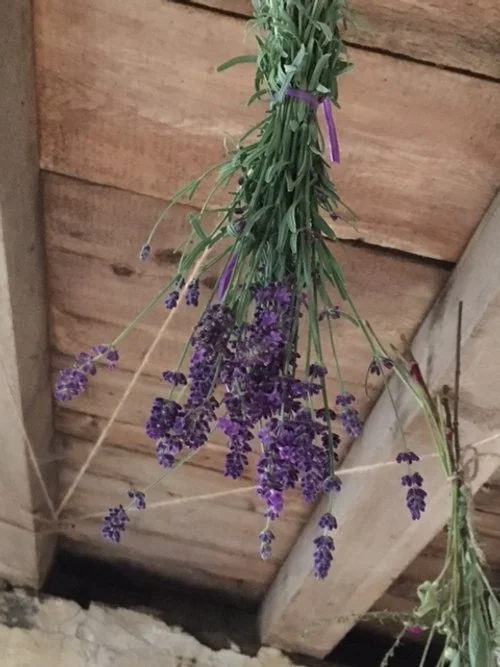
When you harvest your lavender it’s really nice to hang it upside down and enjoy it for a little while before giving it away or cooking with it. It’s just so pretty to look at and you can use it to make so many unique things. Surprisingly, I’ve made shortbread cookies with lavender and they are delicious. I recommend you look around for your nearest lavender farm or better yet, just start grow your own.
The Windy Hill barn is a great place to hang lavender.
a surprising sunny Delight
Marigolds are another herb that I bet you weren’t thinking about. Here’s what I love about marigolds. I first bought them a few years ago to place around my garden to deter the rabbits. I enjoyed the vibrant flowers all season and in the fall the flowers began to dry up so I gathered them to harvest the seeds. I just popped the dried flower heads into a brown paper lunch bag and waited until I had time to pull them apart.
When I had a few minutes, I pulled each flower head apart and hundreds of seeds fell out. I saved them all winter in the paper bag, giving little bunches to friends so they could sprinkle them into their own gardens in the spring. You’ll be amazed at how many seeds each flower produces. I think I’ll have marigolds forever and I only had to buy them once.
This garden below is the result of a small sprinkling all along the edge of this building. As I said before, it’s November and they are still going strong. I can’t even harvest until they dry up. But this tremendous crop will yield tons of seeds that I can sprinkle everywhere next year. And the great thing is that Marigolds are edible. The flowers lend a dash of color to many recipes while adding a mild flavor to drinks, soups, and pesto. And I just learned that the food industry uses marigold as a natural dye to give cheese and butter a more appealing yellow. The dried flowers are also put in certain teas to make them look more attractive. So grow some marigolds, they couldn’t be easier.
Windy Hill’s Marigold Garden.
Pops of Herbal fun
Don’t worry if you don’t have a lot of land, instead make good use of pots and planters. I usually tuck little bits of lavender, basil, or thyme into all of my flower planters around the property. The bees really love it and I think the flowers benefit from the herbal good vibes. So if you have limited ground or garden space, just squish a few herbs in a window box, a vintage watering can, or a flower pot on your porch. The more the merrier.
Herb Harvesting
I usually begin to harvest my herbs in mid-summer. Like many cut flowers, herbs love a good cut. Always use a clean, sharp shear when cutting flowers, herbs, or any plant because you want to minimize the bacteria getting into the plant. Herbs seem to produce more readily once they are harvested the first time. It's best to harvest herbs in the morning while the leaves are still saturated with flavor. Bring everything in and give it a really good wash. Then lay them out on the counter for a few hours if you intend to dry and store them.
Herb drying
When I decided I wanted to begin drying lots of herbs, I created my own herb drying rack in our pantry because I couldn’t find one I thought was attractive. Most looked like giant butterfly habitats and I didn’t really want that hanging in my house. If you’re interested, you can read my post on how I created this stylish herb drying rack here.
After I harvest the herbs, I clean and drip dry them on the counter before I place the herbs into these baskets which I sometimes line with cheesecloth just so water isn’t dripping on the floor. Be sure to spread the herbs out so that air can circulate properly. That’s it. I just wait a few days or a week and let the air circulation do its thing.
DIY Herb Drying Rack for pantry or kitchen.
Herb Processing
After the herbs are fully dry, I strip the leaves with this little Joie Leaf Herb Stripper and place them into a mini coffee/herb grinder or if you have lots, use a food processor until well-chopped. I’ve linked the products I use here and at the end under shop this blog. And be sure to eliminate all stems before grinding. Another method is to just crinkle up the dried leaves in your hand. I find this works better for tea because the coffee grinder makes the leaves too fine for a tea ball. I learned that the hard way.
Processing and Chopping Fresh and Dried Herbs.
Herb Storing
Once dried and processed the way you like, scoop all the herbs into sweet little magnetized spice tins with air vents or some other storage container. Keep in mind a ball jar with a lid will not work because the herbs look pretty but they will eventually mold. I’ve also used brown kraft lunch bags which I label with a sharpie. Just don’t use plastic sandwich bags because of the moisture and the mold. I found these spice tins work well because they keep things well labeled and allow air to circulate. I have my magnetized tins neatly displayed on the side of my refrigerator where they are easily accessible and I store the overflow in lunch bags. I replenish as needed.
Stylish, Magnetic Herbal Tins with Labels.
Magnetized Spice and Herb Canisters with Labels.
HERB enjoying
That’s about it. Once you have them you can enjoy them in teas, on pizza, or in your homemade olive oil dip! Here I just scattered some herbs on homemade dough before we baked it. Delicious little snack with olive oil, some fruit, and a slice of hard cheese.
Homemade dough with dried, chopped herbs for olive oil dipping.
HERB sleeping
Take some time this winter to contemplate Your Herbal Adventure. I’ll provide some links to products for your holiday list so that you can use them this winter to plan and dream your perfect spring.
Windy Hill’s Gated Garden in winter.
Learn: A great handy book to learn about herbs: Herbs by Leslie Bremness
Create: Try growing a mini herb garden in your kitchen this winter with this Window Herb Garden
Inspire: Begin creating little bunches of herbs to give to friends and see how the love grows.
If you’d like to try your hand at processing and drying herbs, here is the list of supplies I used:
SHOP THIS BLOG:
Lime Green Joie Leaf Herb Stripper
Garden Shears
Herbal Tins with Labels
Mini coffee grinder
Shaker Pegs
Large Metal Baskets
Small Metal Baskets
Curtain Clips
Cheesecloth
If you are enjoying my blog, please sign up to receive my blog updates on my homepage.
I’m always here to help you with your creative journey. Please sign up to receive blog post notifications and follow Studio Sprig on Instagram, Facebook, and Pinterest. I look forward to connecting. If you’re a blogger, what’s your favorite SEO Tool? I’ve had much keyword success with RankIQ. Learn more here. - Kim
This post contains affiliate links. As an amazon associate, I earn a small commission at no further cost to you. Thank you.


