A few years ago I began growing a few pots of mint right outside on my deck. Before long I began growing many different varieties. To prevent excessive spread, I grow all of them in pots except for Apple Mint which gets quiet tall, and some Spearmint which I scattered around as groundcover.
Mint Varieties
This past summer, I grew 7 mint varieties and I actively dried them to create delicious summer iced teas.
The mints I grow
Pineapple Mint
Apple Mint
Strawberry Mint
Spearmint
Peppermint
Chocolate Mint
Orange Mint
Strawberry Mint
Harvesting Fresh Mint
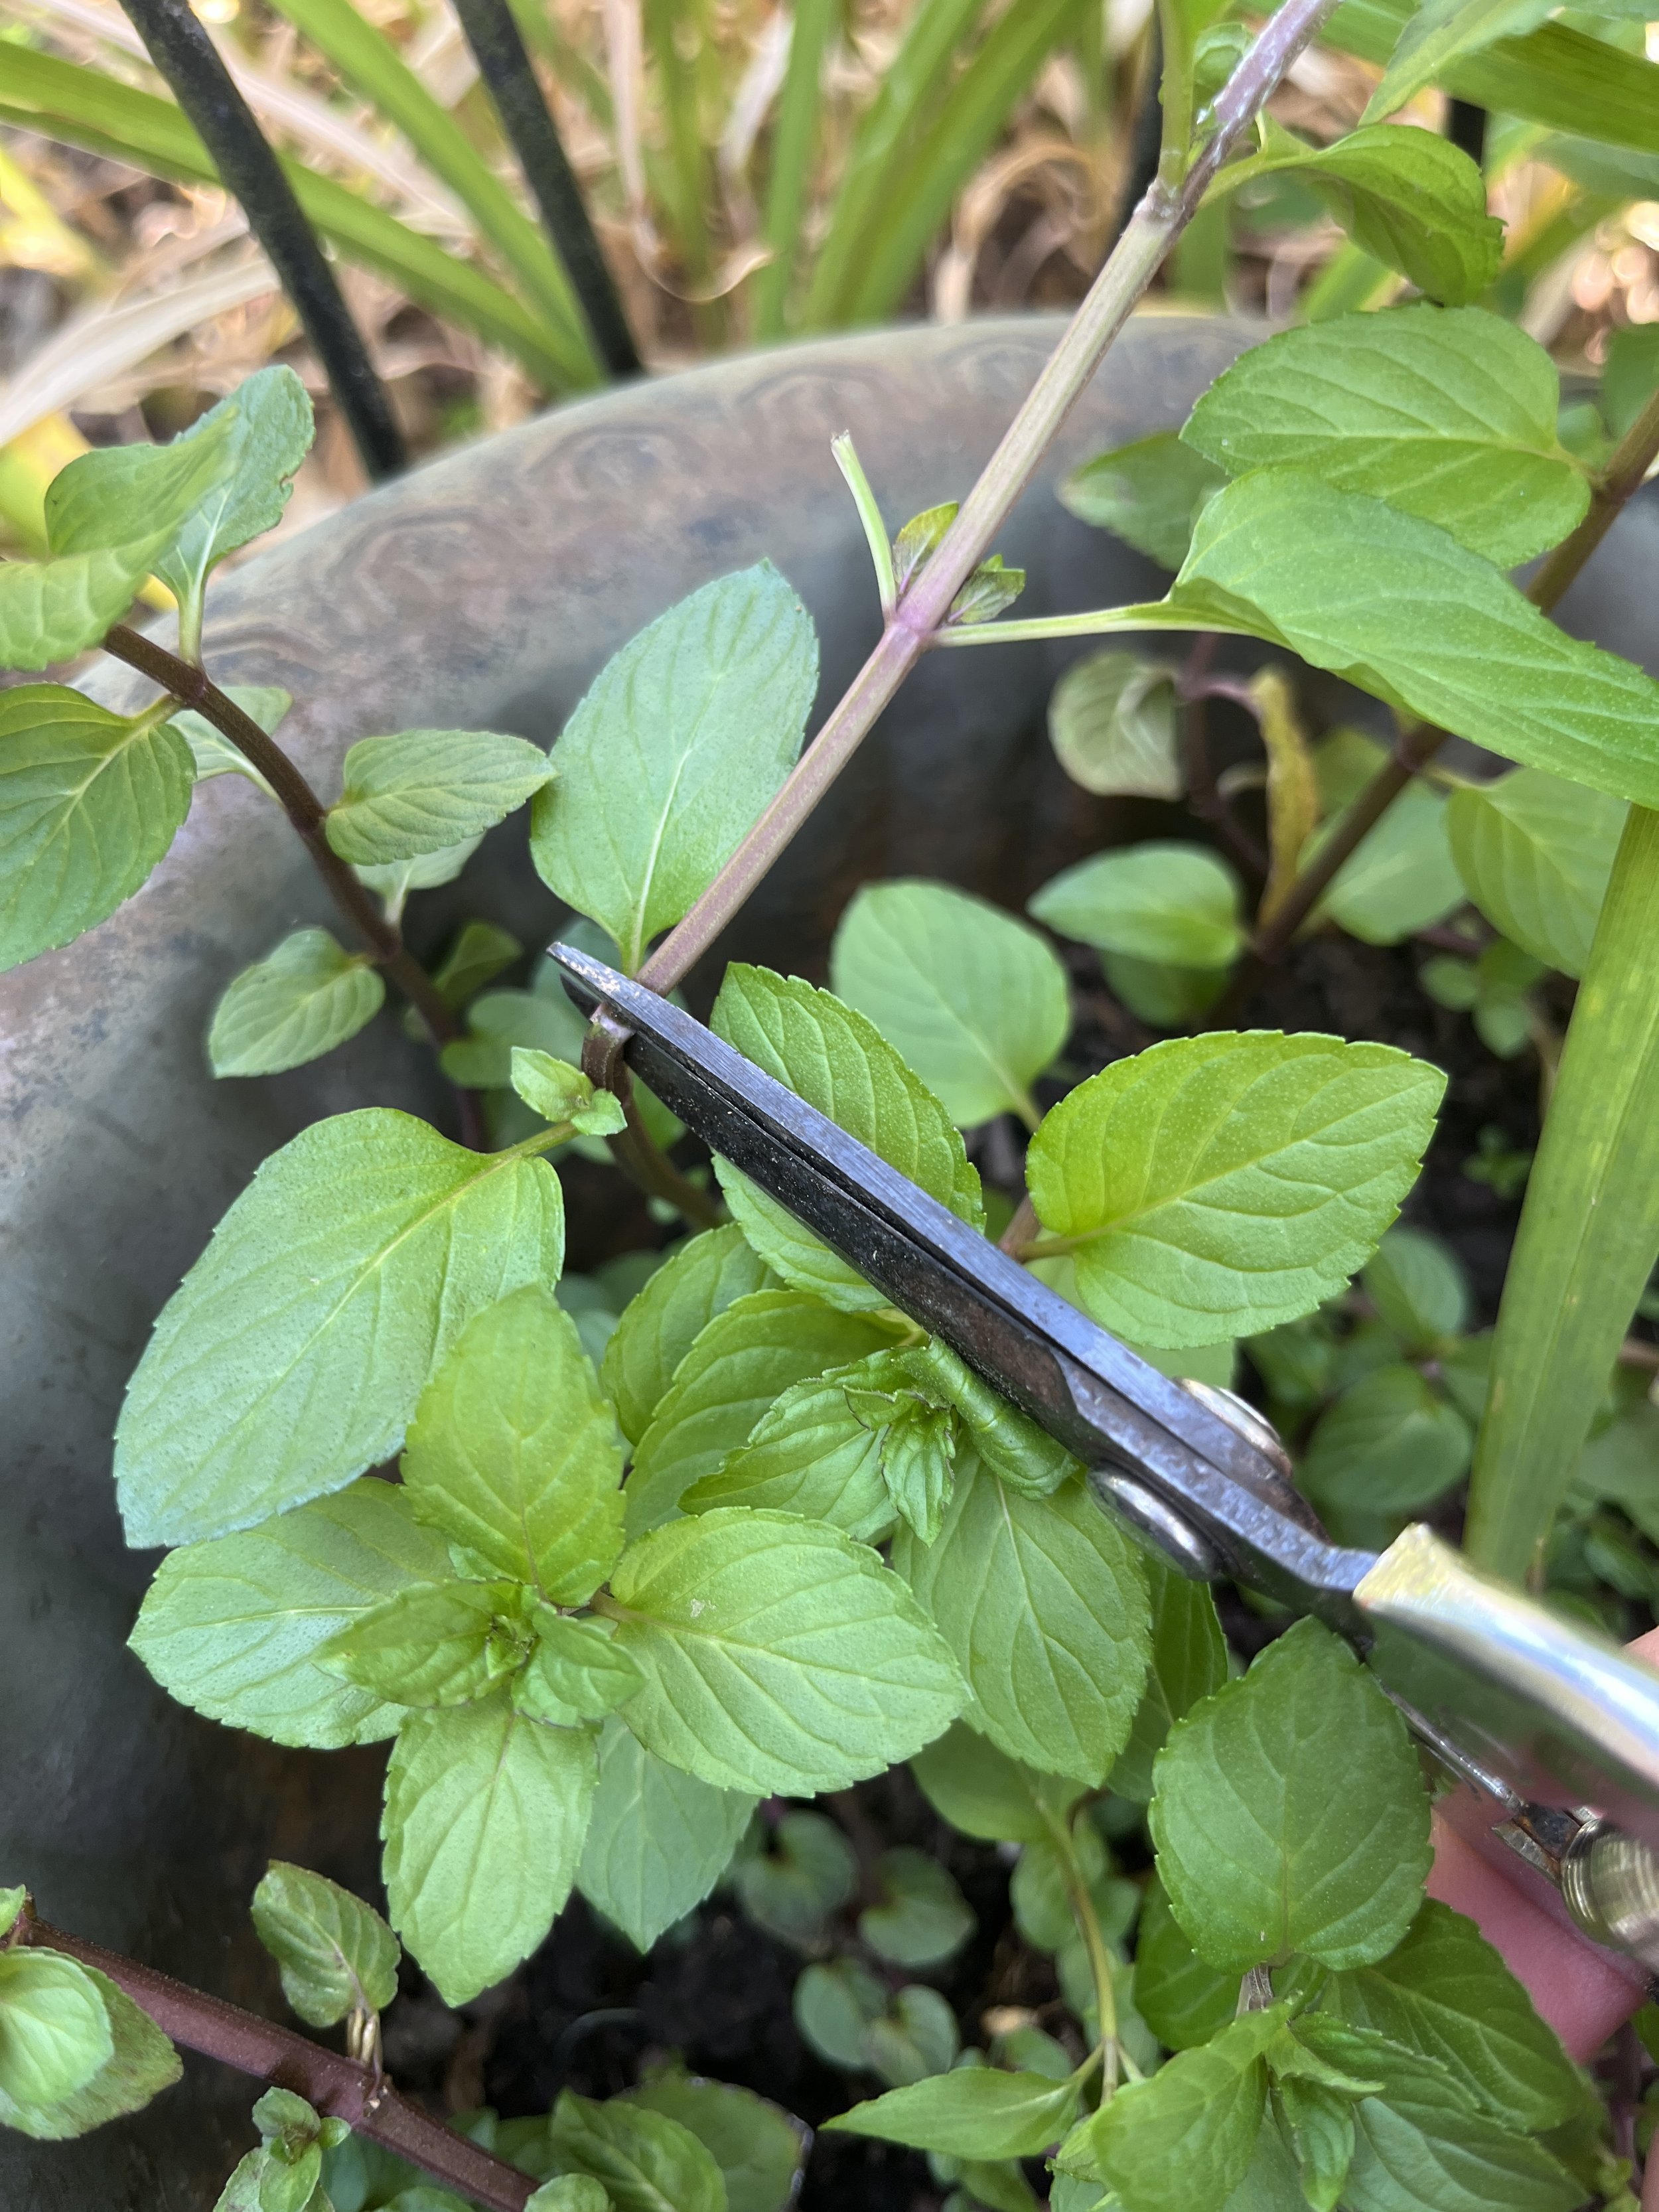
To keep things manageable, I have decided to cluster all the mint pots on the deck right outside my back door. This way they are easy to care for and simple to harvest. I find it’s important to harvest often to promote growth. The best way to harvest is to cut your mint stems just above the new, tiny leaves or buds. To do this I use this snip tool. I find it’s the best. A sharp, clean cut will strengthen the plant, keep it healthy, and encourage it to branch out in other directions.
Harvesting Peppermint
Cleaning and Drying the Mint
After I snip the mint that is ready, I wash the leaves thoroughly, after I carefully remove the leaves from the stems. I find it’s easier to remove the leaves at this stage before drying because then I don’t risk getting pieces of stem in with the leaves, but you may find you like removing them after you dry your mint. It really doesn’t matter, so just do what is easiest for you. Once the leaves are clean and separated from their stems, I place them on a large serving dish or my stainless baking pans to dry. Most of the time I just let them air dry for a few days but if I am going to be home for a while I dehydrate them in my oven at 175 degrees. If you choose to put them in the oven or dehydrator, they should only take a few minutes. Thorough drying is very important because you do not want any moisture left in the leaves or they will mold when you store them.
Drying Orange Mint
Storing the Mint
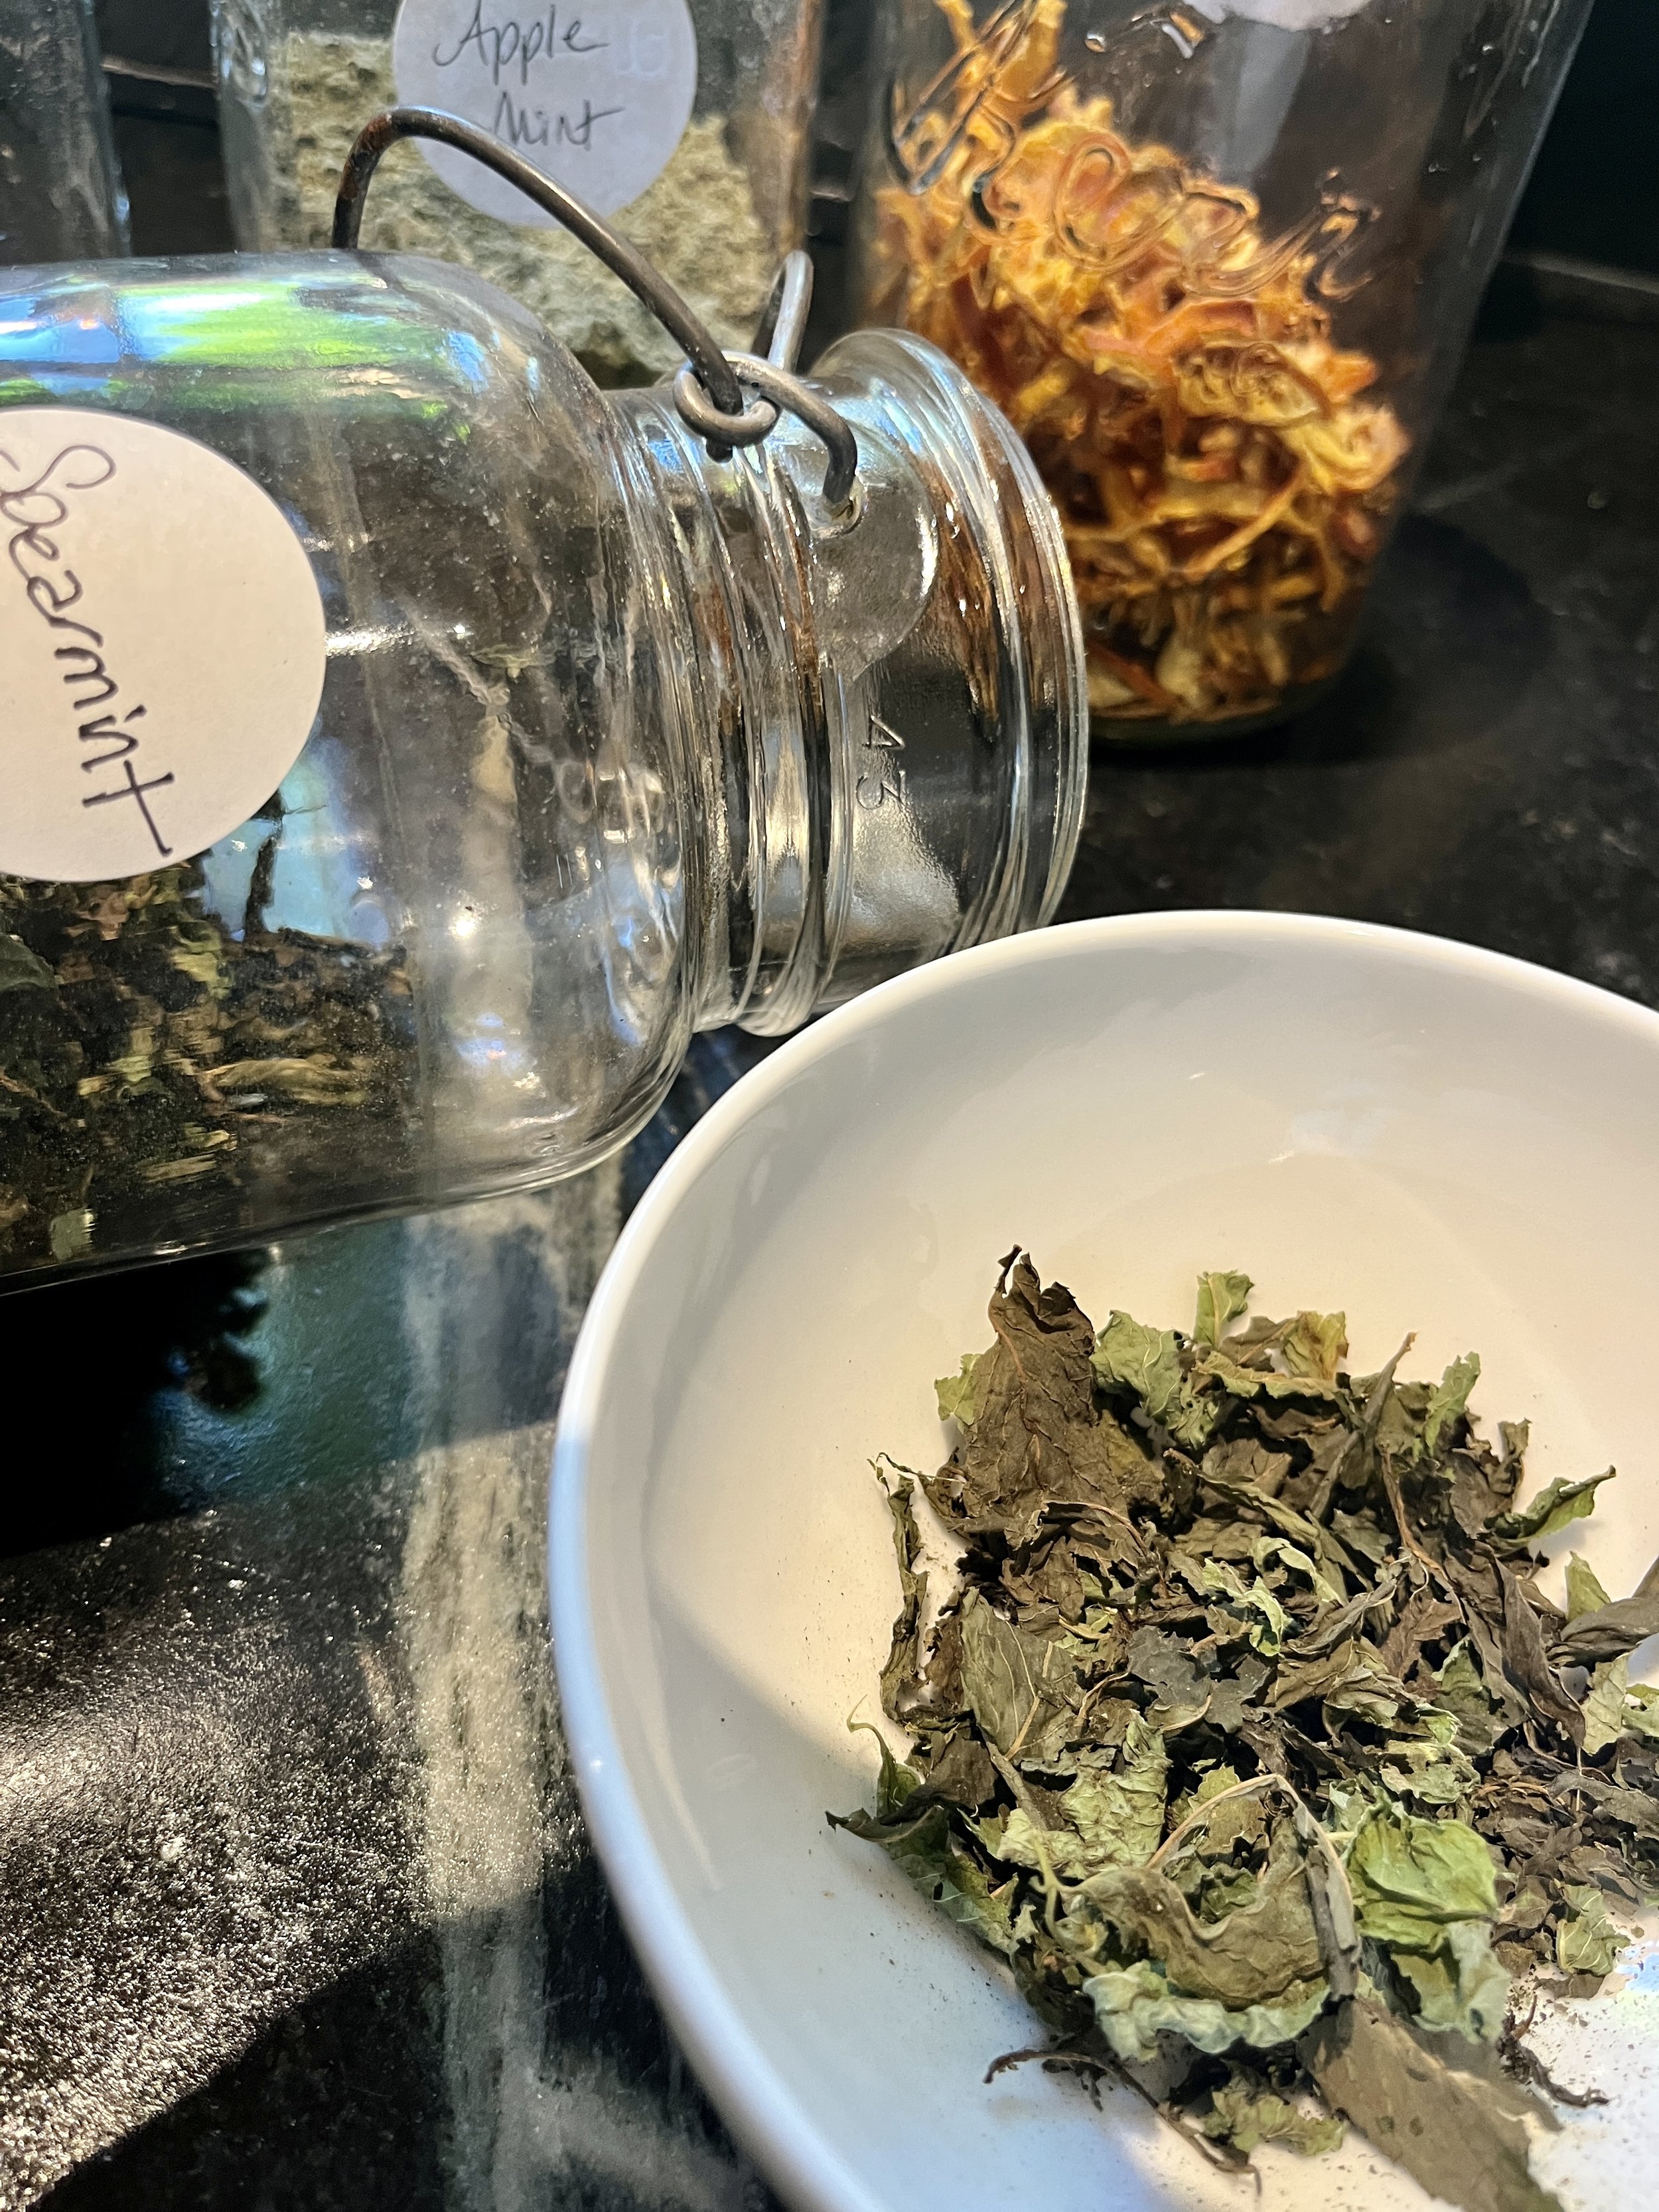
Once you are sure your mint leaves are completely dry and crumbly, it’s time to store them. I like to use Mason jars just because I love the look. I created an Herb Drying Rack in my pantry and you can learn how I did that here. But be warned, last year I made the mistake of sealing the jars with traditional Mason lids and I learned that even if you have just ONE moist leaf, your entire batch will be ruined. Luckily, I found these wonderful stainless steel screen lids that fit Mason jars. These lids are great for two reasons, they allow air circulation and now a mint scent fills my pantry.
Stainless Steel Mason Lids
Chopping the Leaves
After the mints dry, I briefly run them through my coffee grinder or food processor if I have a large amount. You can also just scrunch them up in your hands. Any of these methods chops the leaves so they are small enough for the tea bags. It’s not necessary, but I like when the leaves are small because they are easier to scoop out of the mason jars with a spoon.
Unchopped Dried Spearmint
Chopped Dried Strawberry Mint
Making the Teabags
Once you have a collection of dried mints or other tea favorites like dried orange, lime or and lemon peels, echinacea petals, lavender, and chamomile it’s time to create some of your own tea bags. I use unbleached tea filter bags by Numola. What I like about them is they have a drawstring, not a staple, and they are fully compostable. I can toss them right into my countertop compost bin without worry. These filter bags do not come with label tags so I bought simple kraft hang tags which I tie on the string of the bag.
To fill I open the filter bag, fill it about halfway with one or multiple varieties of dried mint, flowers, or fruit, and then tie it securely so the mints do not escape when you place it in water. Once I’ve created a tea variety, I label the tag accordingly and tie that to the teabag. I enjoy giving these herbal & floral teabags as gifts in breakfast baskets and to make my own iced tea.
Unbleached Teabags
I hope this post inspires you to grow some mint or other tea-worthy, edible flowers like the chamomile above, and that it helps you create some warm winter sips. Please comment “MNT” if you’d like a full list of supplies for dying & storing your own mint.


