When we bought our farm, Windy Hill, in 2007, the property had a beautiful Victorian farmhouse, a small cottage, a big storage building in the back, and a stately, 4-story, hunter green barn.
The barn, unlike the modernized house, was in near-original condition. A lone chicken resided in the barn, not too long before we arrived, and there were animal pens, a long trough, and more than a few bird nests waiting for us inside. We jumped on this pretty early on, cleaning up the unnecessary chicken coop, powerwashing the trough and floors, and securing many of the windows so new birds would not get inside. The exterior, however, remained intact until we had to replace a few of the 28 windows that were damaged during a windstorm.

Windy Hill’s Victorian House

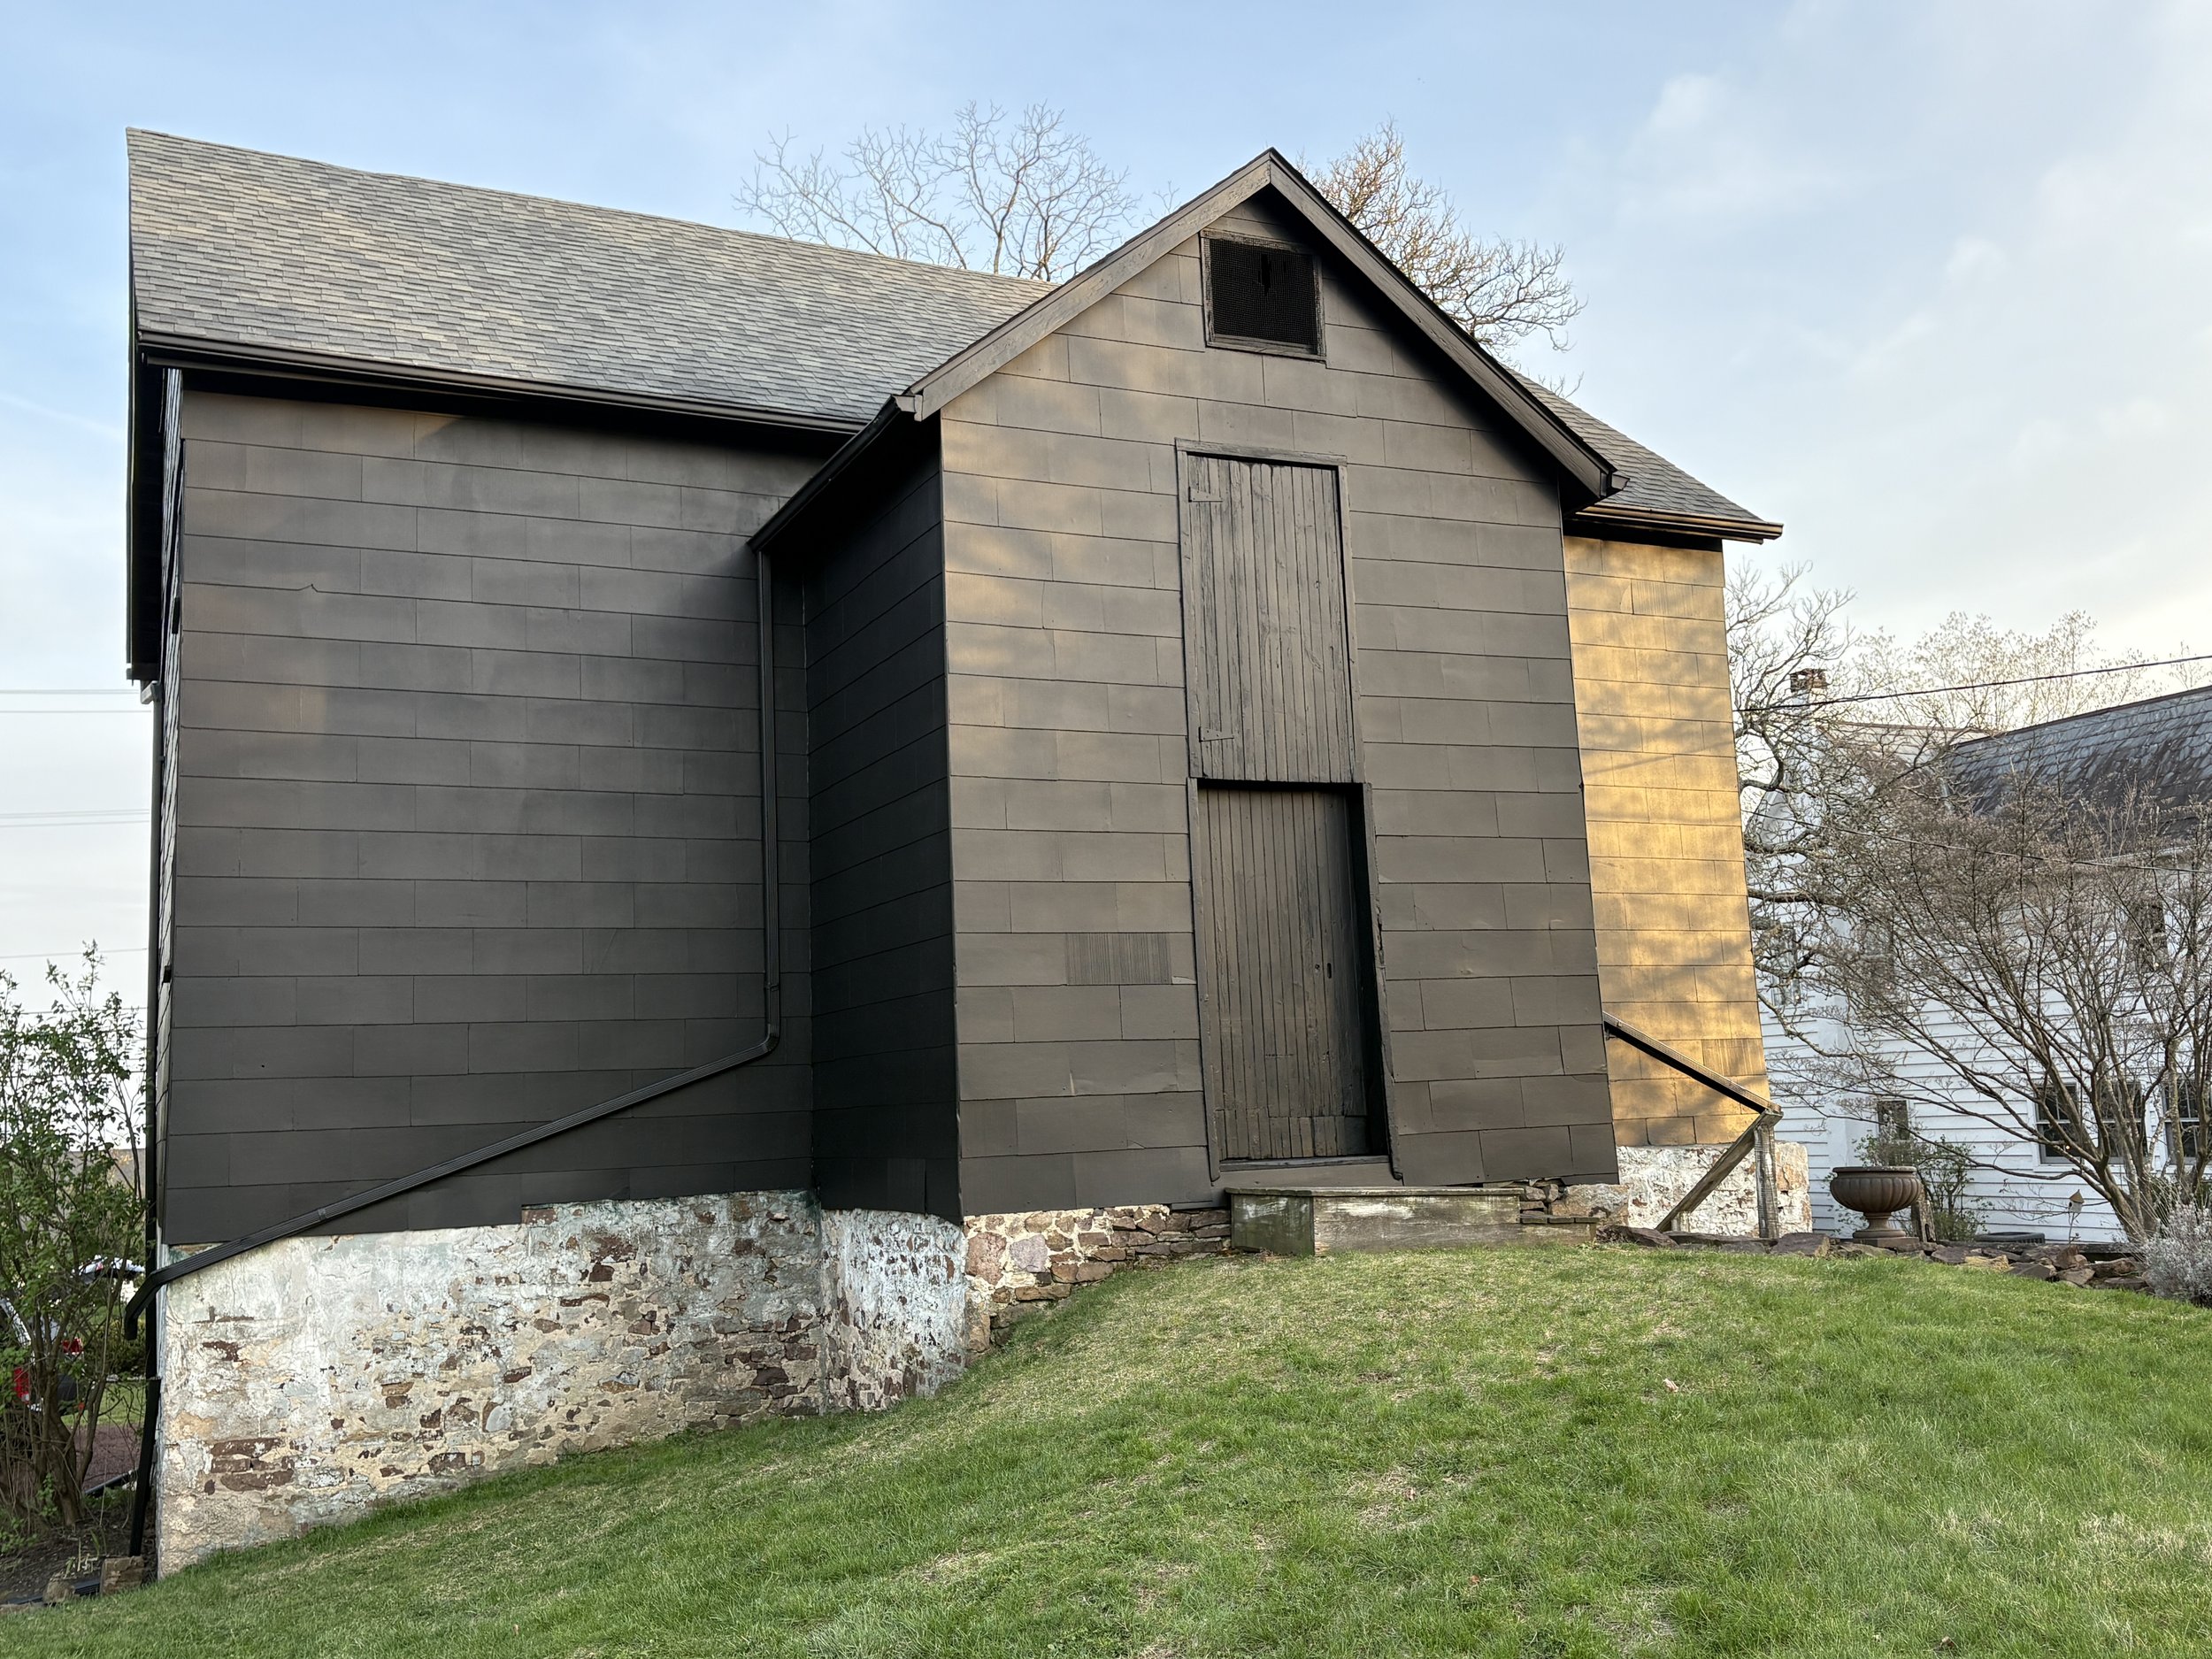
Windy Hill’s Bank Barn 2007-2024

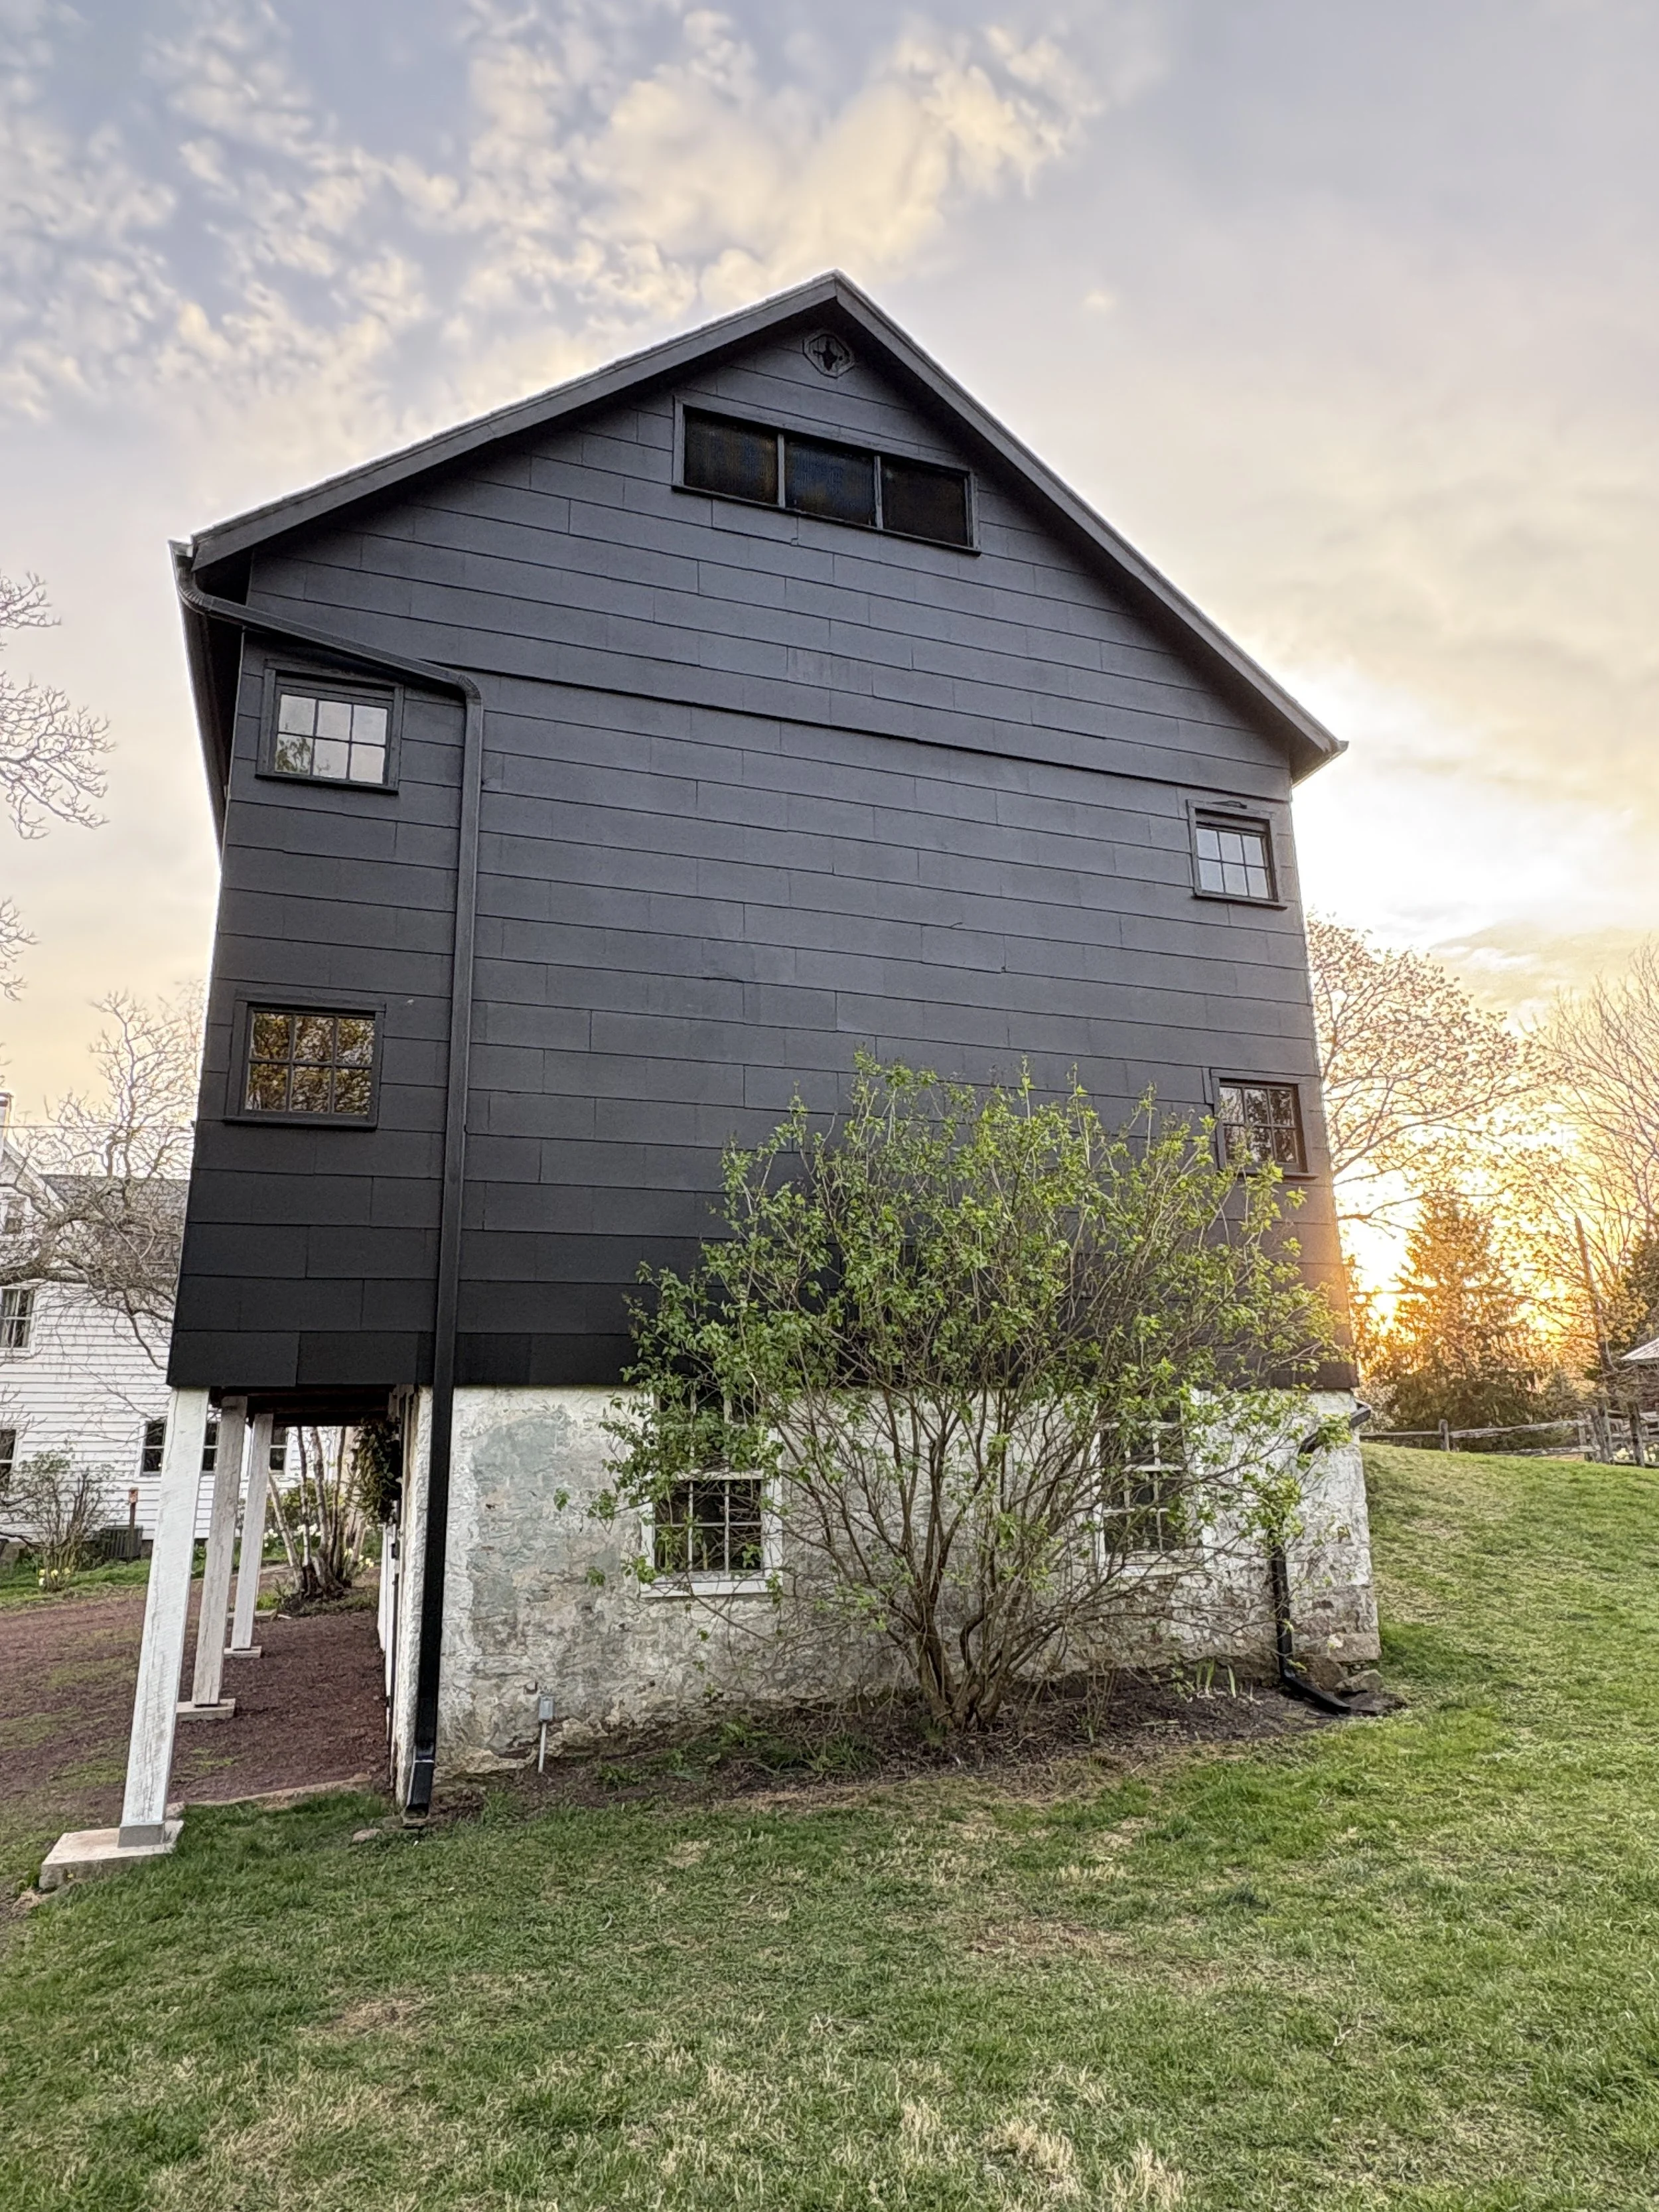
Windy Hill Bank Barn North Side View

Windy Hill Bank Barn South Side View
This Old Barn
Over the years, we didn’t need the barn, and we made no plans to raise farm animals because we were busy raising our three young children. But we knew it was important to preserve our piece of history and to keep her looking the best we could.
We brought in The Heritage Conservancy of Bucks County and found that the barn and house were likely built sometime in the early to mid-1800s. We learned there are Roman numerals or “marriage marks” (markings on the timbers of the roof frame to indicate timber location in the building) on the ceiling of the barn’s upper floor, so this helped in determining the age.
Why make a change?
Somewhere during the autumn of 2024, I spotted an oversized photograph of a painted, black barn at my local Benjamin Moore store. It was an advertisement for their stock black (2132-10) low lustre paint, and I fell in love immediately. I knew our barn’s south side was especially faded and worn from the severe storms we’ve been having lately, and I wondered what our barn would look like if it were updated with black. So after colorizing a photo in Photoshop to get a quick glimpse, I called professional painter, Brandon Chamberlain, for a consultation and estimate, and the rest is history.

28 Freakin’ Windows!
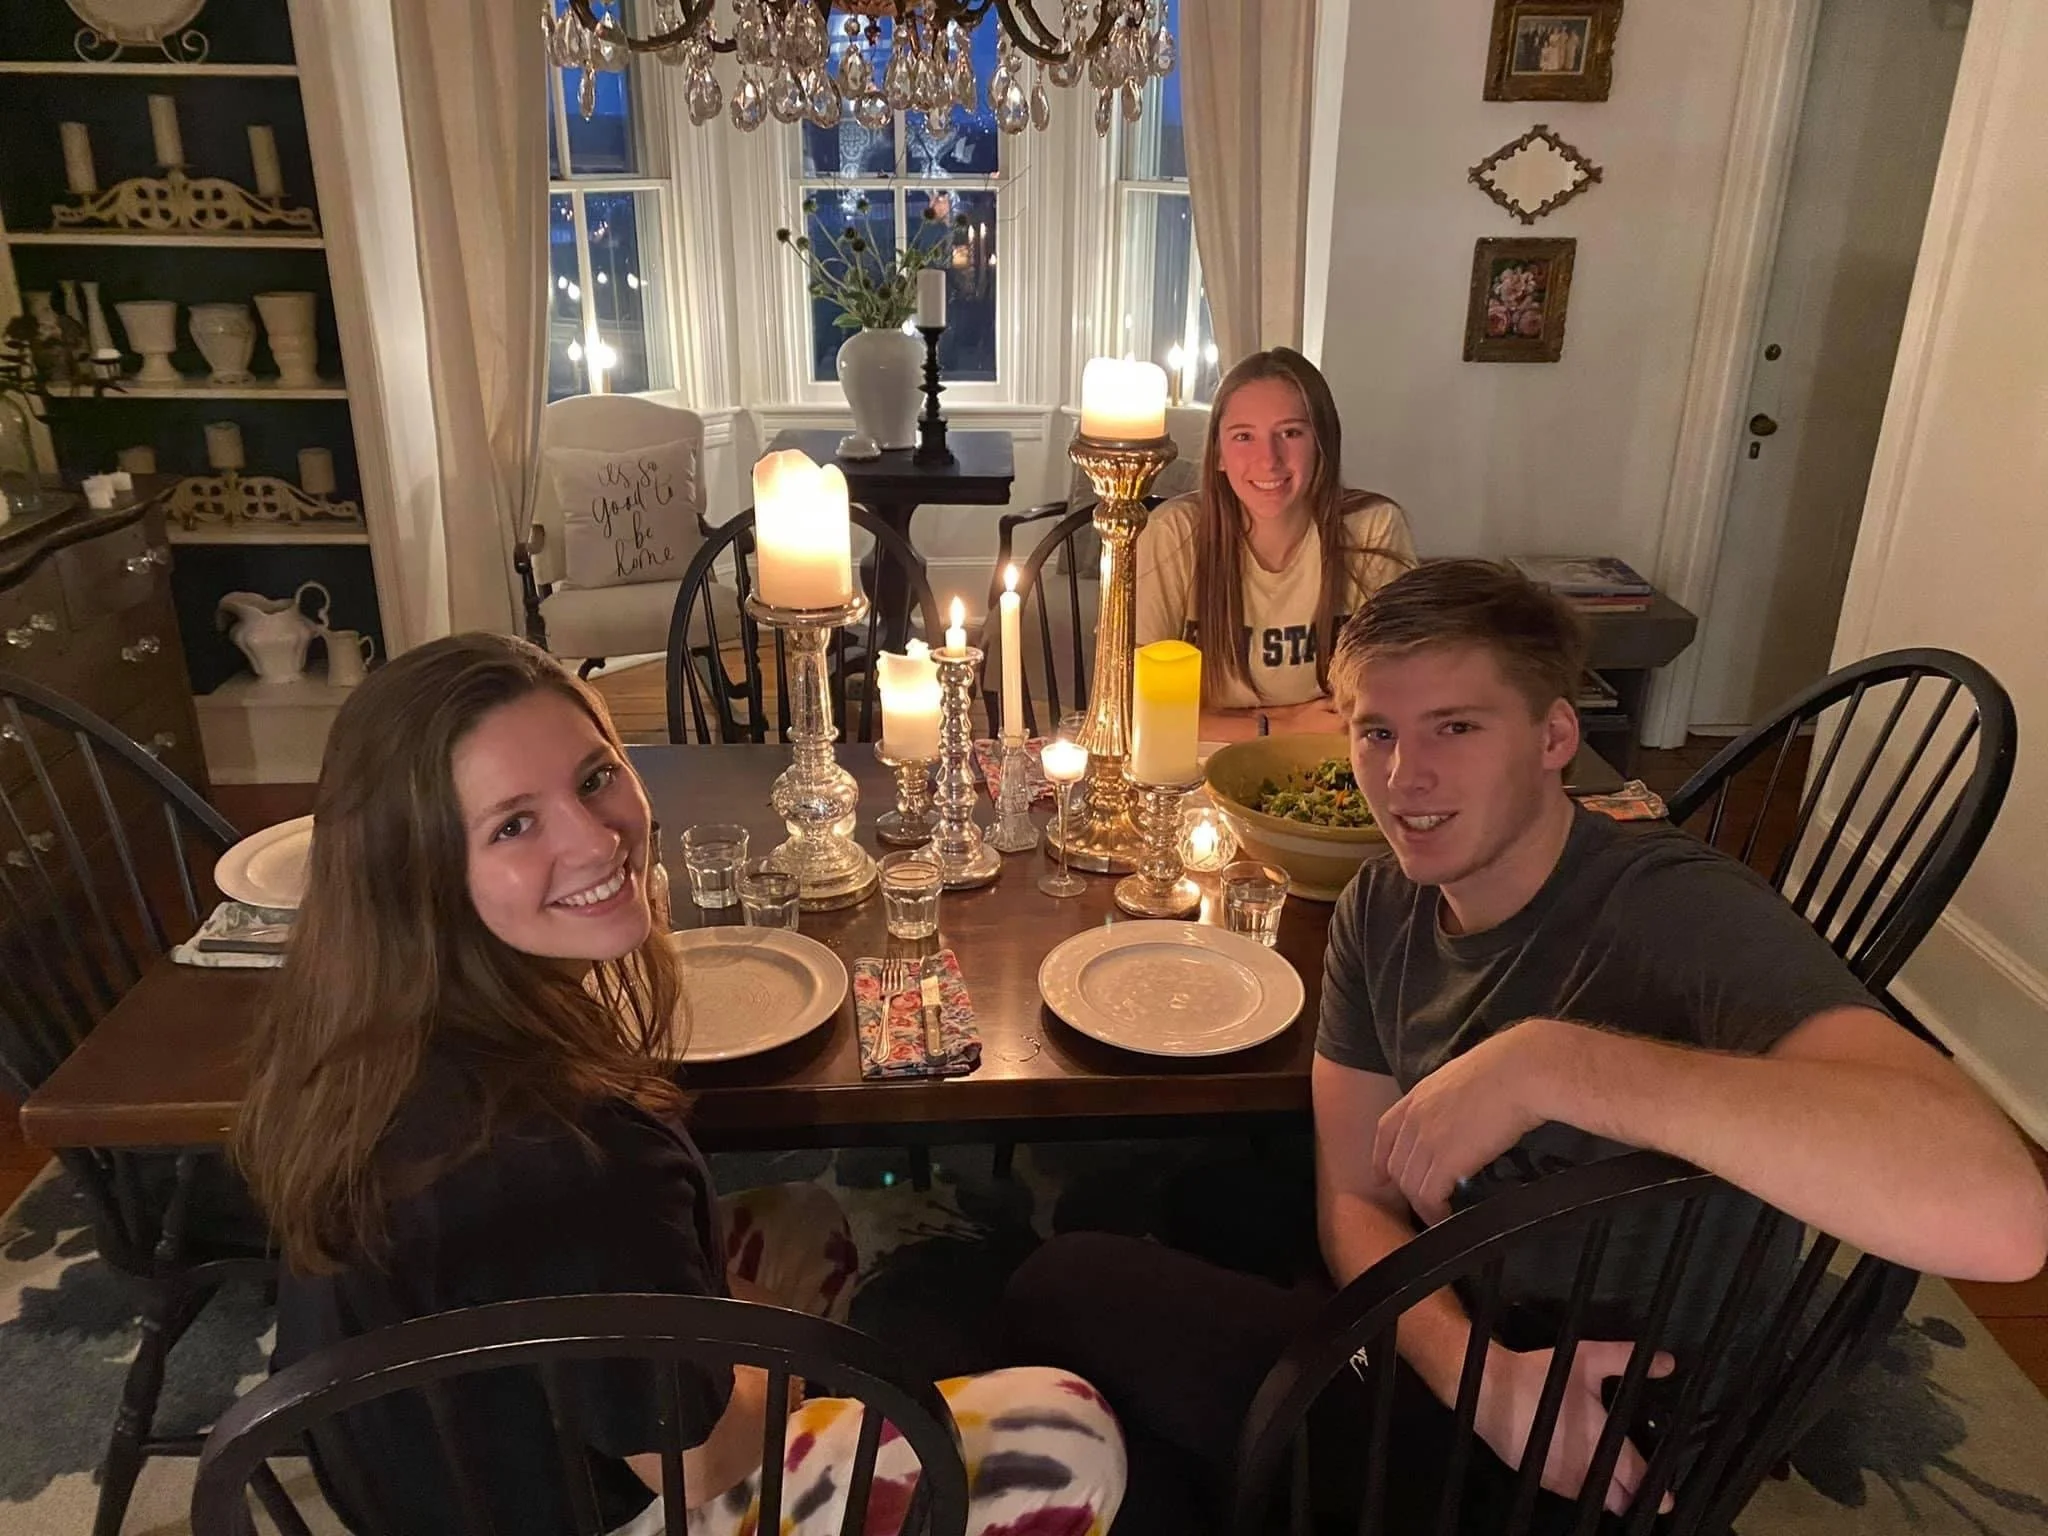
The first thing we had to do was remove all of the windows. Some were new, as I mentioned before, and some were very old and literally falling apart. Nevertheless, we needed to remove, categorize, clean, and prep each window for painting. This was by far the worst part of the job, and it fell primarily on me. I sorted and cleaned every single window in our mudroom, which took the better part of a day. Then Michael and I set up shelving in our dining room, where we began the tedious job of painting every single frame and muntin (strips of wood that hold the window panes in place) for every single window! I will never do this again, you can quote me.

disguising old and ugly imperfections
Brandon started by going around the entire barn and filling all of the cracks, holes, and broken tiles so they’d be virtually invisible after painting. For this, he used a product called Bondo Filler, which he said covers even the “worst imperfections” and dries quickly. He was right. There were quite a few broken shingles on this barn, and now it’s very difficult to spot them. Brandon also did quite a bit of carpentry prep work by patching peaked soffits riddled by carpenter bees, and by replacing a few window sills that were rotten and worn. The extra effort was very much appreciated.


The Windy weather at Windy Hill
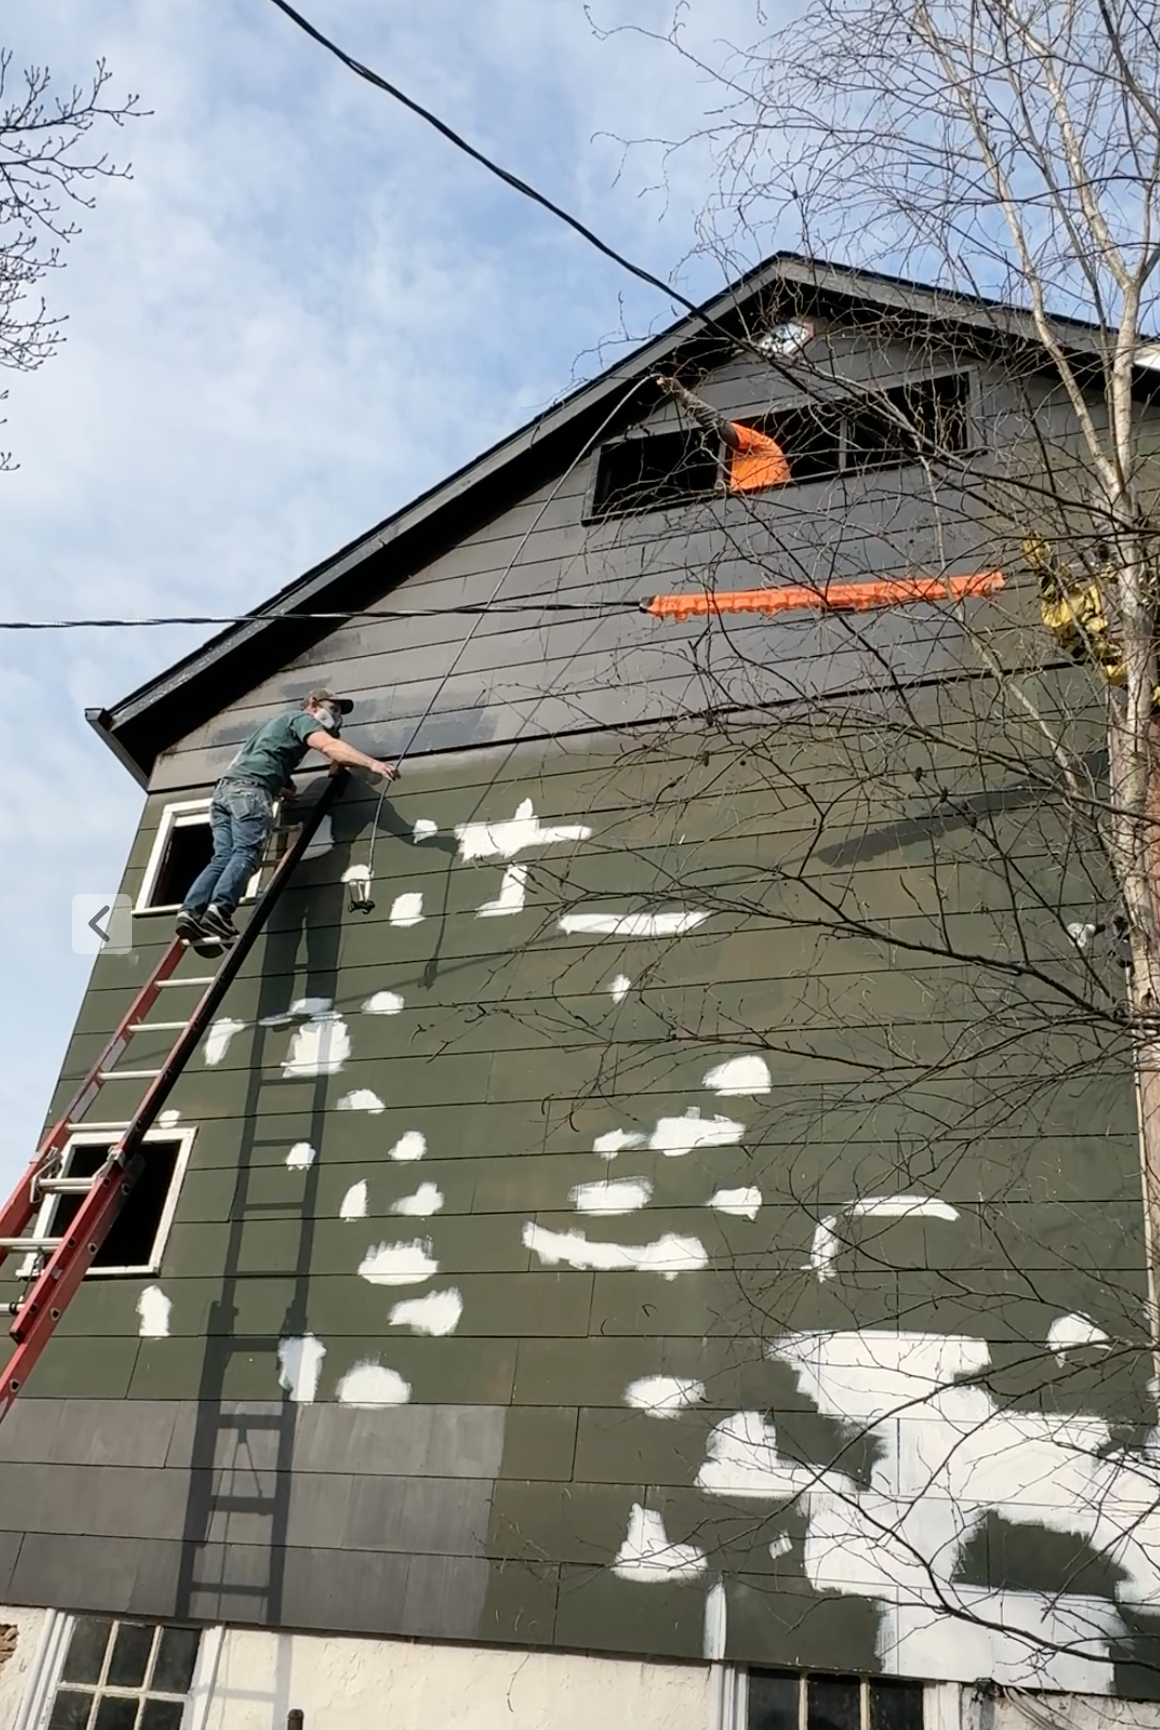
Once the Bondo was set and all of the prep work was finished, it was time to spray the paint. Brandon set aside 2 days in April to get two coats of paint on the barn, but the weatherman had other plans.
The first week of April came with freezing temperatures, wind, and lots of rain. The second week of April brought the same awful weather. Every time Brendan tried to begin work, something would happen - a fierce wind gust, an unexpected rain shower, or freezing temperatures that we’d normally see in February and March. It was discouraging, to say the least, as our deadline was April 20, Easter.
Brandon and his assistant used only ladders to scale this tall barn. And as you can see in the photo above, the south side peak was the most difficult because he had to work around a power line and a very tall birch tree. But the two of them dangled the sprayer out of the upper windows and got the job done.

Why You Should Hire a Professional
Forever the professional, Brandon pressed on, week after week, day after day, throughout April, assuring me over and over that the barn would be painted by Easter. And so it was. Brandon finished the job on Good Friday, which meant that we could reinstall all the windows on Saturday, just in time for the holiday.

the Finishing Touches
We did break two of the older window panes when we reinstalled, but fortunately we have a great, little glass shop in town that will fix them up in one day. They are already at the doctor's.
I also searched for very large, faux, spring wreaths to adorn the 3 front barn doors. These oversized green and white wreaths are from Wayfair, but you can find similar ones here.

Thank you for following along on our 2025 Bank Barn Journey. If you have any questions please share in the comments, I’d be happy to help if I can.

Windy Hill Bank Barn 2025