Oyster Shells - All the Rage
Oyster shell art seems to be all the rage recently, and I’ve enjoyed learning how to create small jewelry dishes with these shells.
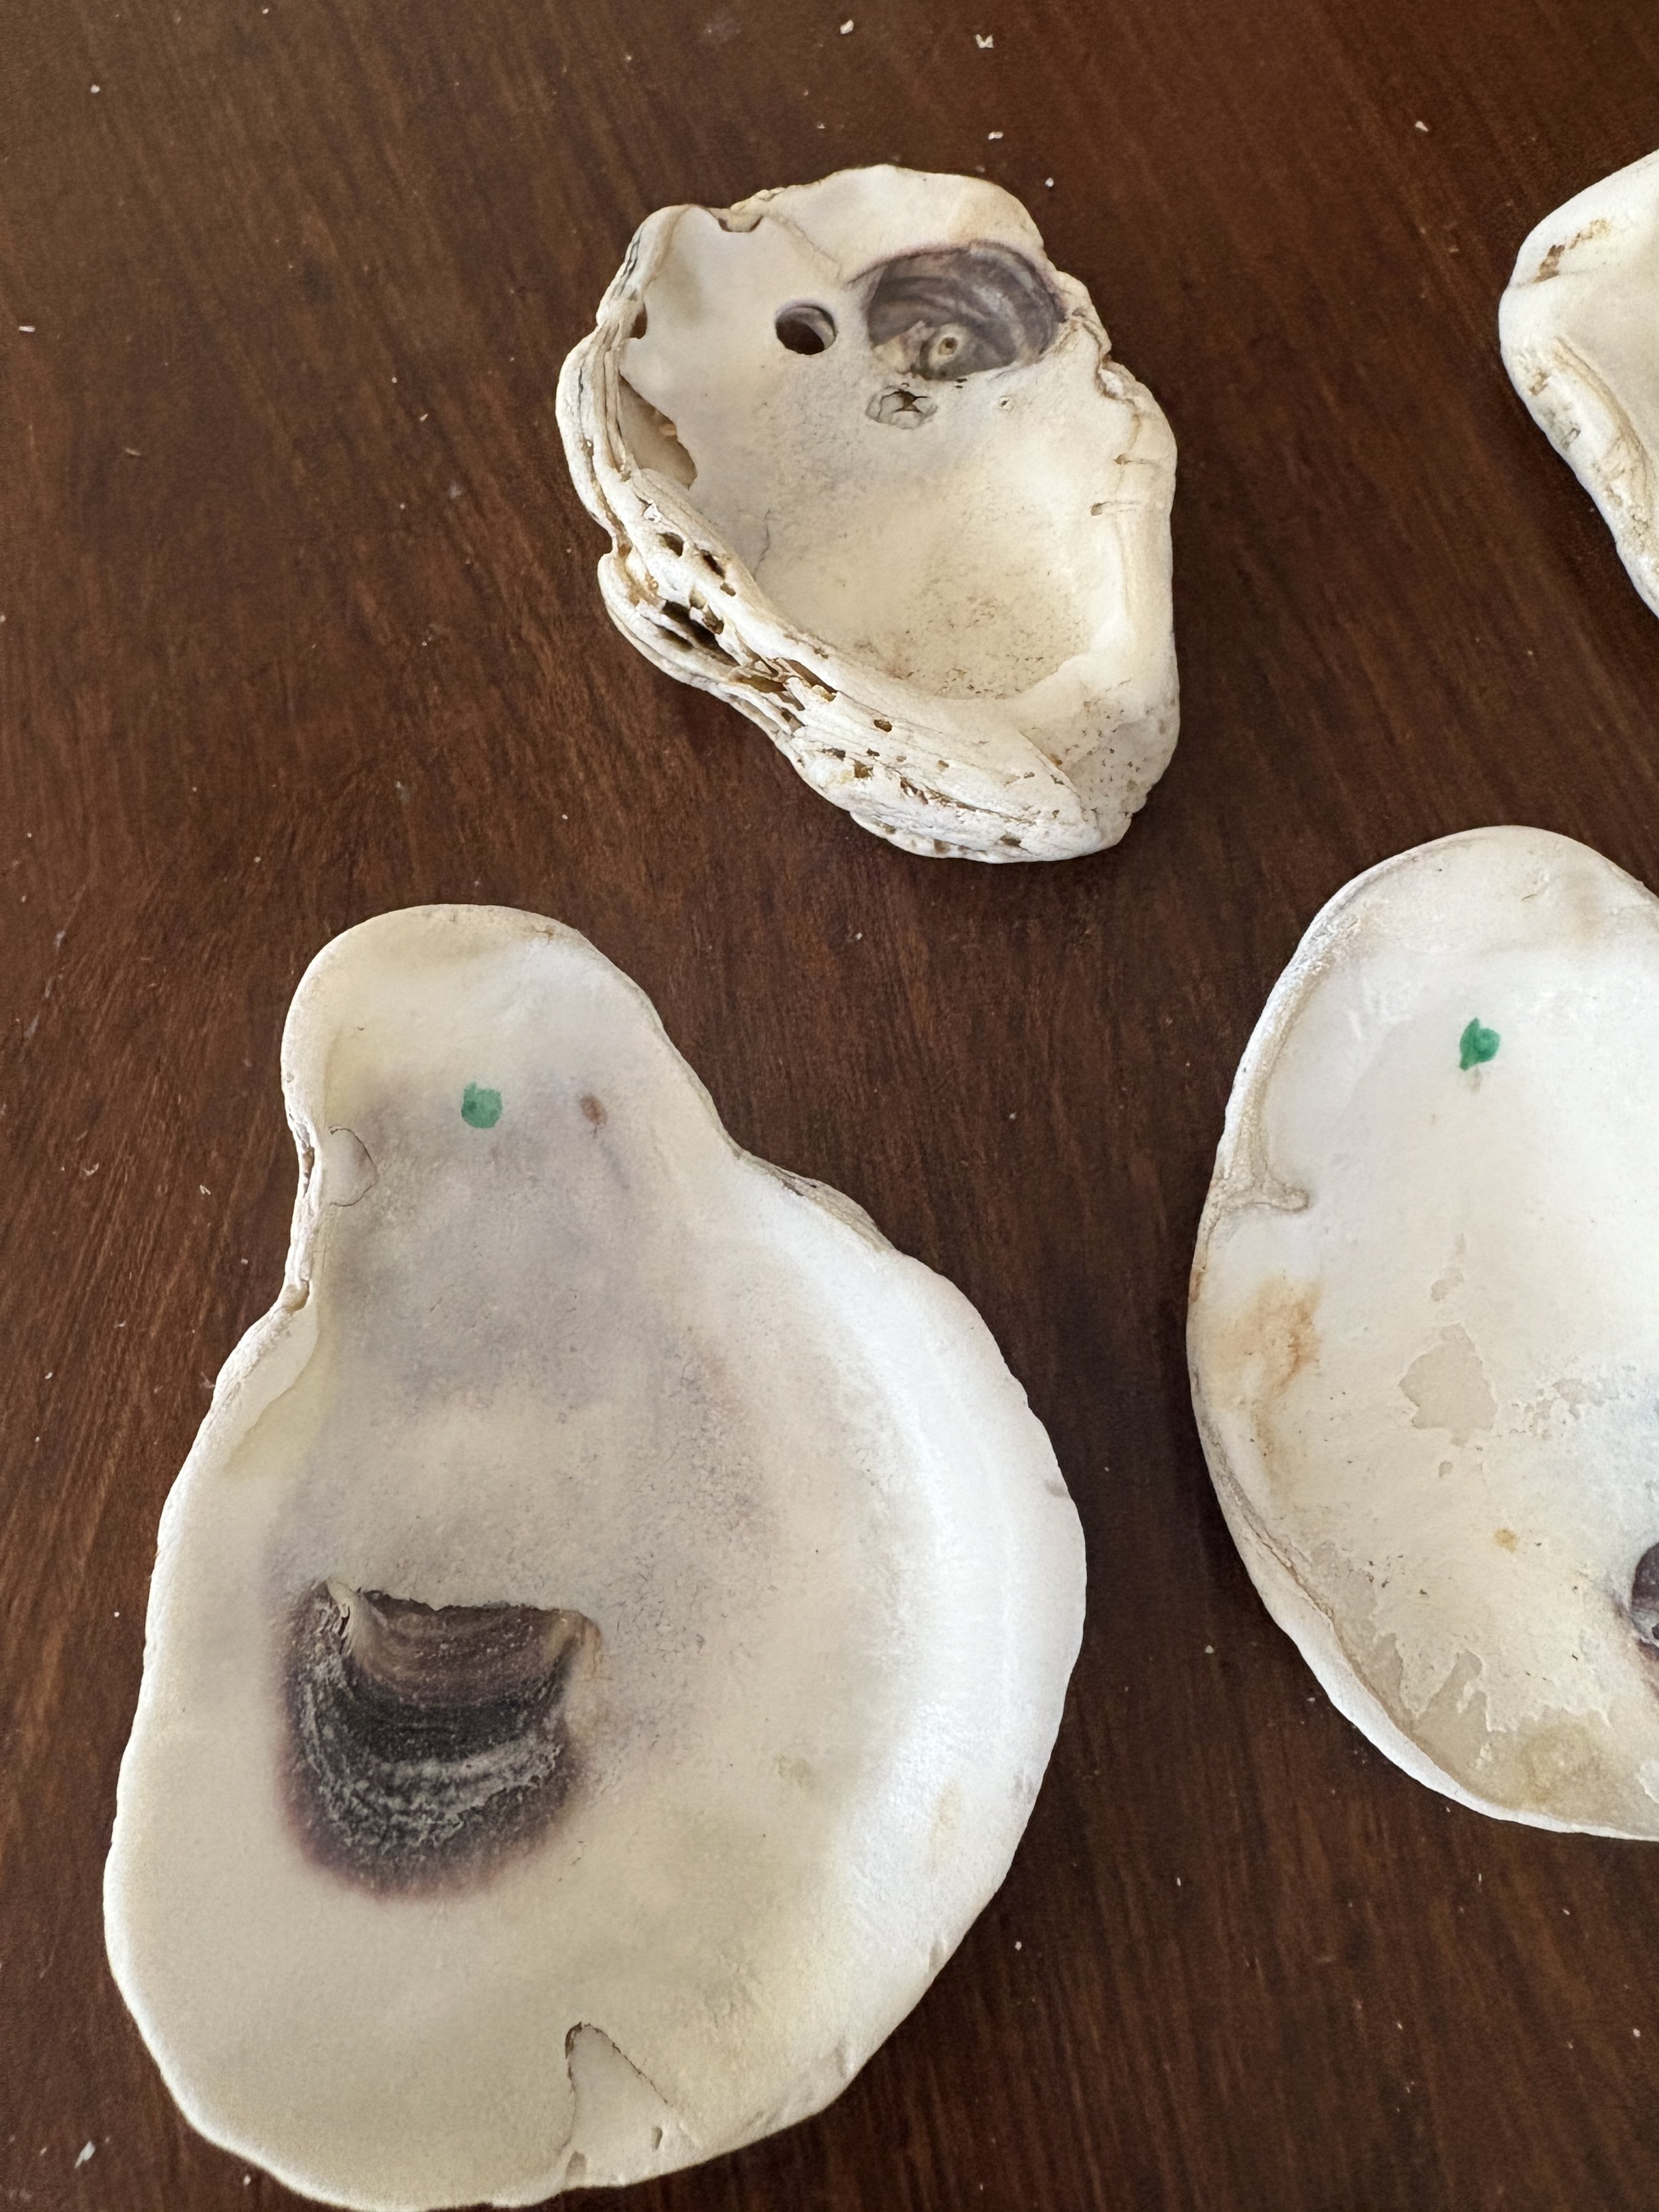
When friends of mine decided to design oyster dishes during our fall beach getaway, I thought why not try to make a few pendant necklaces instead? I couldn’t help but notice that several of the smaller oysters we had collected, already had natural holes, so it was the perfect opportunity to try.
Cleaning and Prepping the Oyster Shells
While on a weekend trip to St. Michaels, MD, I found a bucketful of oysters for sale. I rummaged until I found 10 perfect pendant-sized shells and brought them home to create some gifts. If you don’t have a beachy source to gather some oysters, you can always buy some online.
When home, I soaked the shells in a bucket of water with a bit of bleach for about an hour. I did this to remove any sand and contaminants that might still be lingering on the shells. The next step is to set the shells out to dry thoroughly so you can use a marker to indicate where you’d like to drill a hole, if there isn’t a natural one already.
Drilling the Hole
After you’ve marked the spot that you’d like a hole, decide on the size hole you like and match up the correct drill bit. I purchased 1.5mm round leather cord for my necklaces, but you can use an existing gold or silver chain too.
Set up your drilling station by placing the shell on a small piece of wood and keep a little dish of water nearby. You’ll want to wet the drill bit slightly and drop a few drops of water directly on the shell. This helps eliminate friction when drilling. If you do not have a drill, here is a good drill for small crafts.
Cover the Blemishes
After you’ve successfully drilled the holes and you know your shell did not split or break, you are ready to cover the dark blemishes on the inside surface. I have been doing this with white nail polish but a good opaque white paint works well too. You probably have one or the other lying around. You don’t want to skip this step because these dark blemishes will show up under your designs and ruin the overall look.
Adhere Paper Napkins
Now comes the fun part. Before you begin, you’ll want to acquire a variety of pretty paper napkins. These can coordinate with a holiday or season, a getway weekend, or maybe they are pulled from a collection of the prettiest paper napkins you’ve acquired or stolen from dinner parties all year long!!
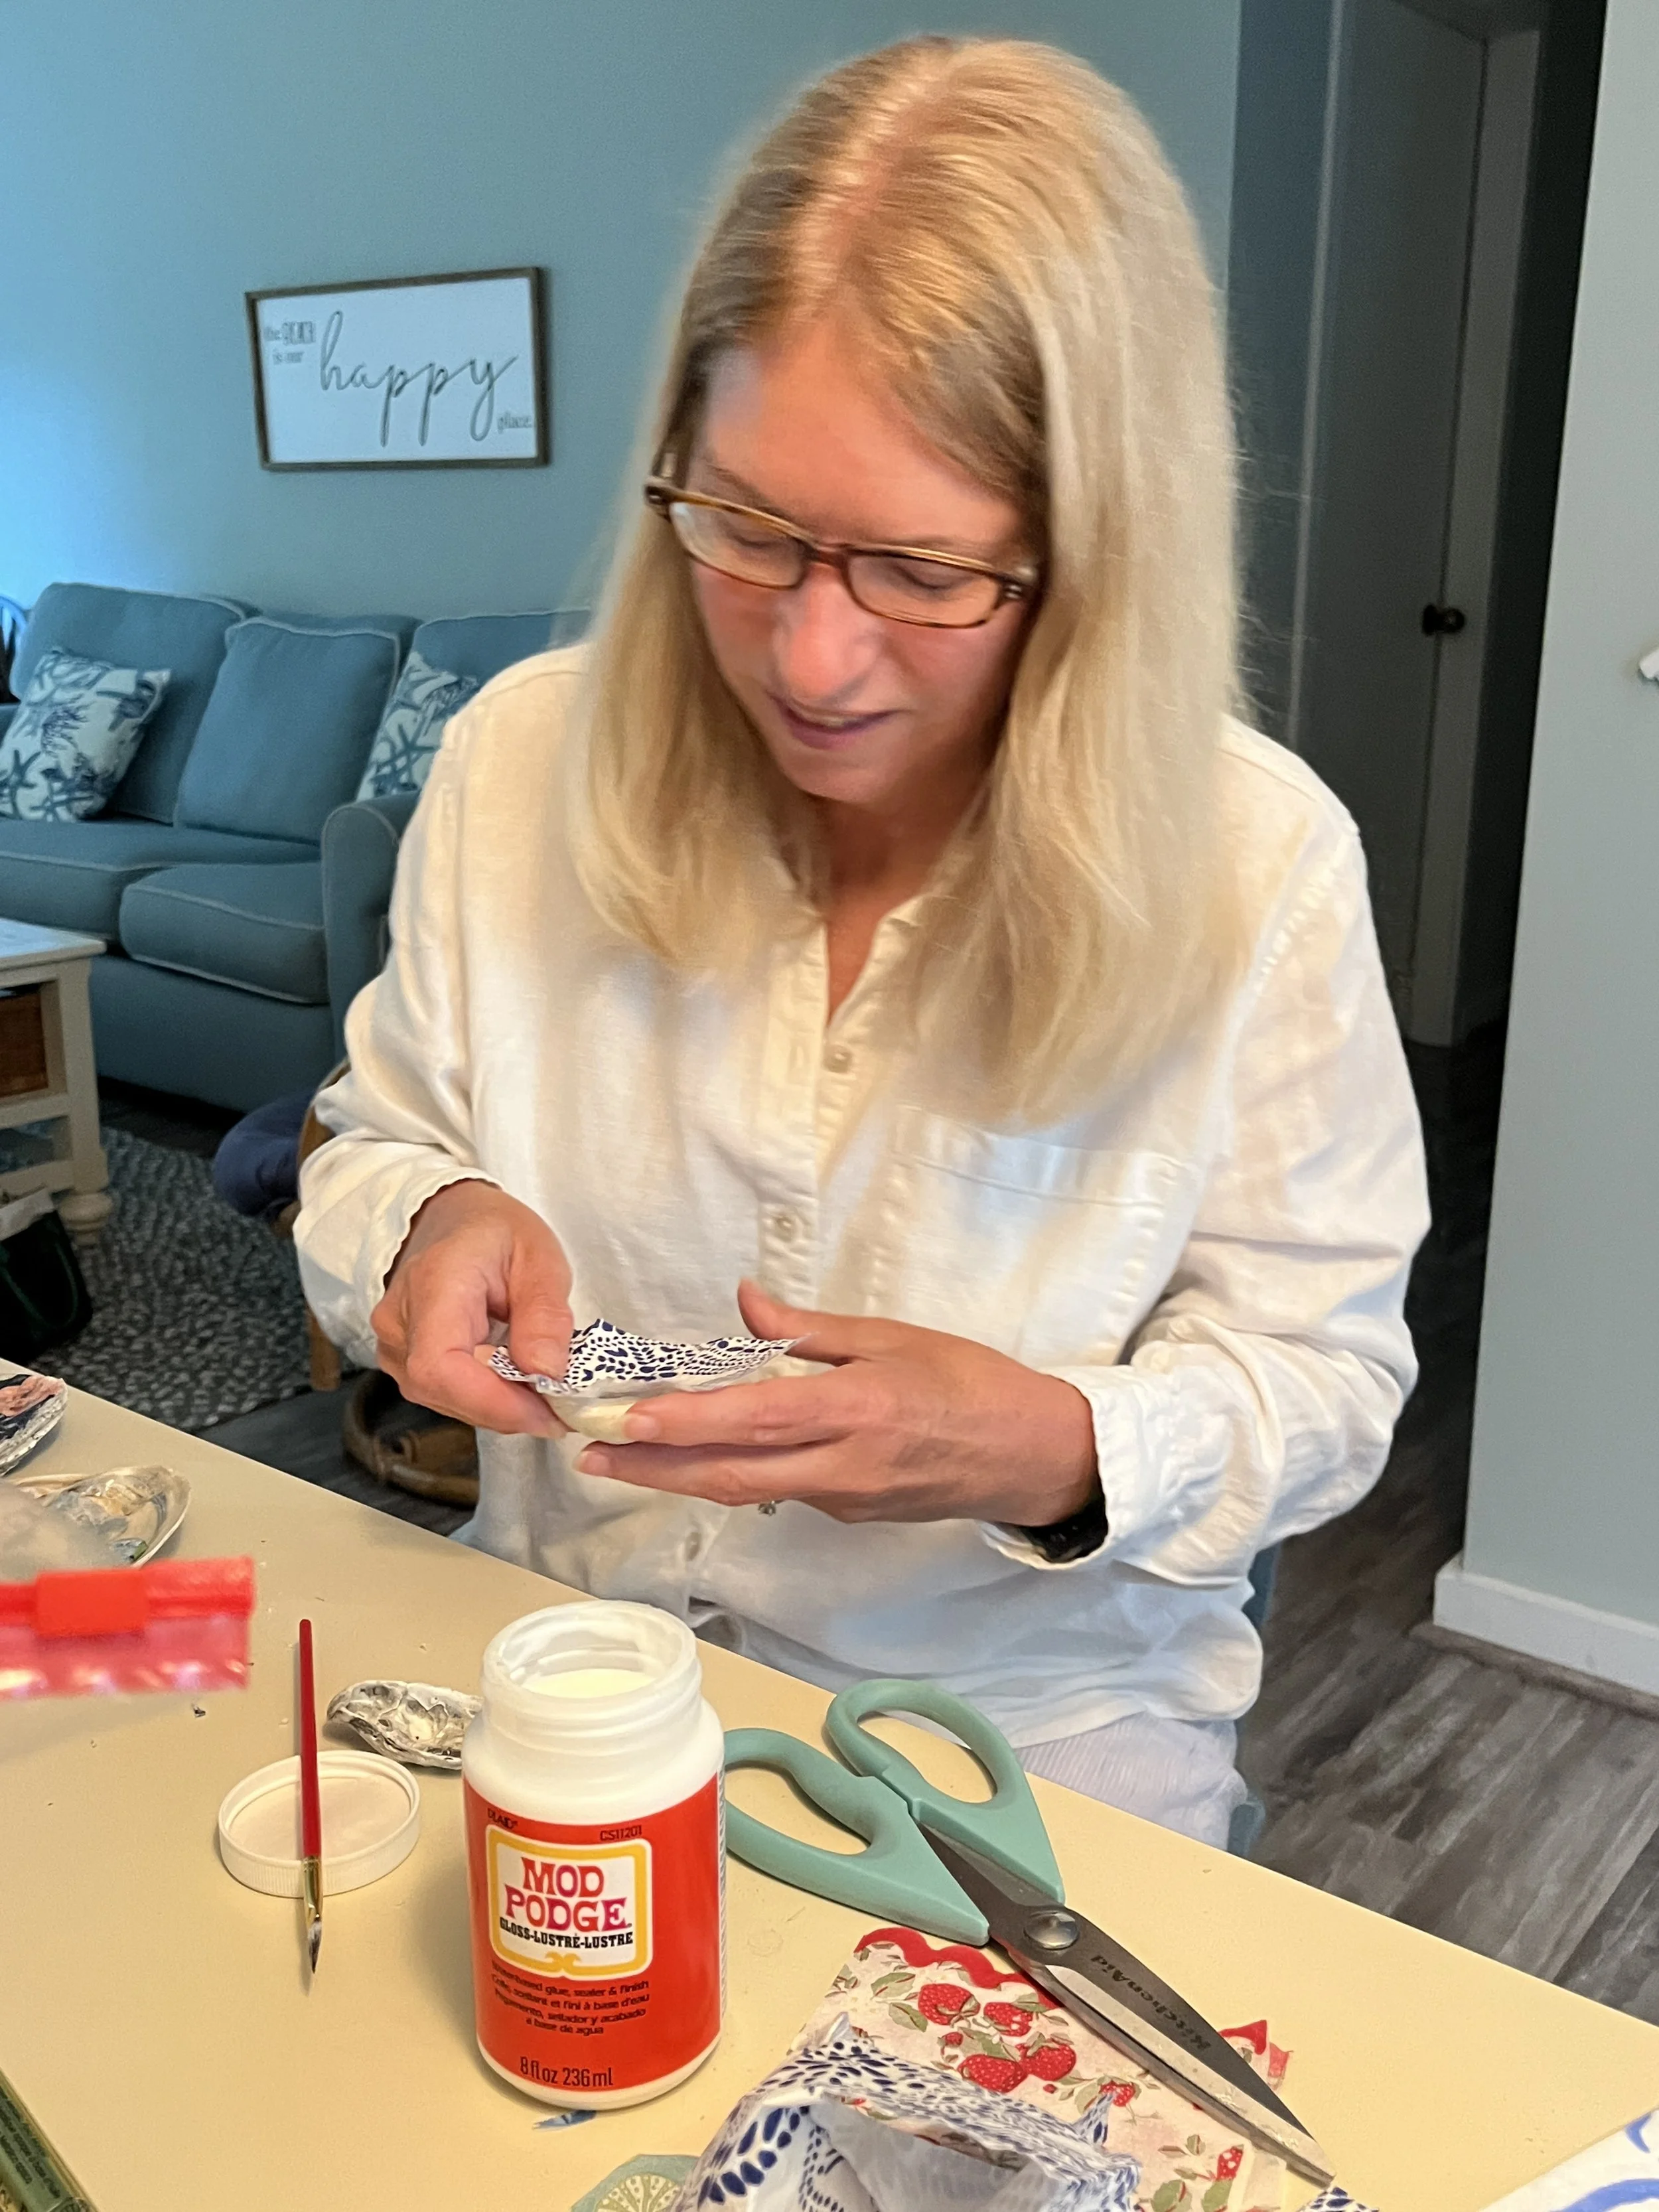
Decide which design you’d like to use for your necklace or small dish. If your napkin is 2ply, be sure to carefully remove the underlayer so that only the printed layer remains. then cut the napkin with a scissor in the rough shape of the shell. Make sure your cut is larger than the shell itself. I try to make my cuts at least 3/4” larger on all sides.
Apply Mod Podge
Next, you’ll take your small paint brush and apply Mod Podge to the inside surface of the shell and let it set for about 30 seconds. Then, gently lay your napkin inside the shell cavity, face side up. It will crinkle a bit but lightly press it down with your fingers so that it sticks to the sides and bottom. Now, coat your brush with Mod Podge, and brush it over the napkin until every piece is glued down. You can choose matte or gloss Mod Podge depending on the look you prefer. Do your best to smooth out all the creases with your brush and when all of the inside surface is covered, allow your shell to dry for a few hours. The excess paper napkin will still be all around the edges and that’s okay, you will tear it away once it’s thoroughly dry.
Tear Edges
When your shell has completely dried it will not look that great, in fact it will look unfished. This is normal, the next step is what brings it to life.
Carefully hold your shell and start tearing off the excess paper napkin as gently as you can, all around the edges. If you tear too far and remove some from the inside, that’s okay, just patch the section with a tiny brush of Mod Podge if necessary to secure it to the shell and keep moving. You want to get it to where there are no loose edges of the paper at all around the perimeter. If you patch, be sure to let dry again.
Apply Gold Leaf Edge
Once every edge is torn and everything is dry, vigorously shake your gold leaf (or silver leaf) pen and begin drawing around the edges. You’ll want to shake the pen, and dab it a few times on a napkin to get the gold leaf flowing. Be sure to buy gold leaf and not just a gold marker because the ink is different and you won’t get the metallic leafing effect. Of course, if you are going for a different look and don’t want metallic, you can use a paint marker of any color. But again, be sure your paint marker is opaque and not just a typical marker because you want the outlining edge to cover over the edge of the napkin and define the shell. Have fun with this step by taking the pen into the design or highlighting edges on the back of the shell, as I often do.
Loop the Cord Through
The last step is to string the leather cord through the hole. You can tie it off with a simple slip knot if you’d like, or add beads to finish off the look.
Please attach photos of the necklaces you make after reading this blog. Have fun. There is a full supply list below.


