Hellebore: One of my favorites!
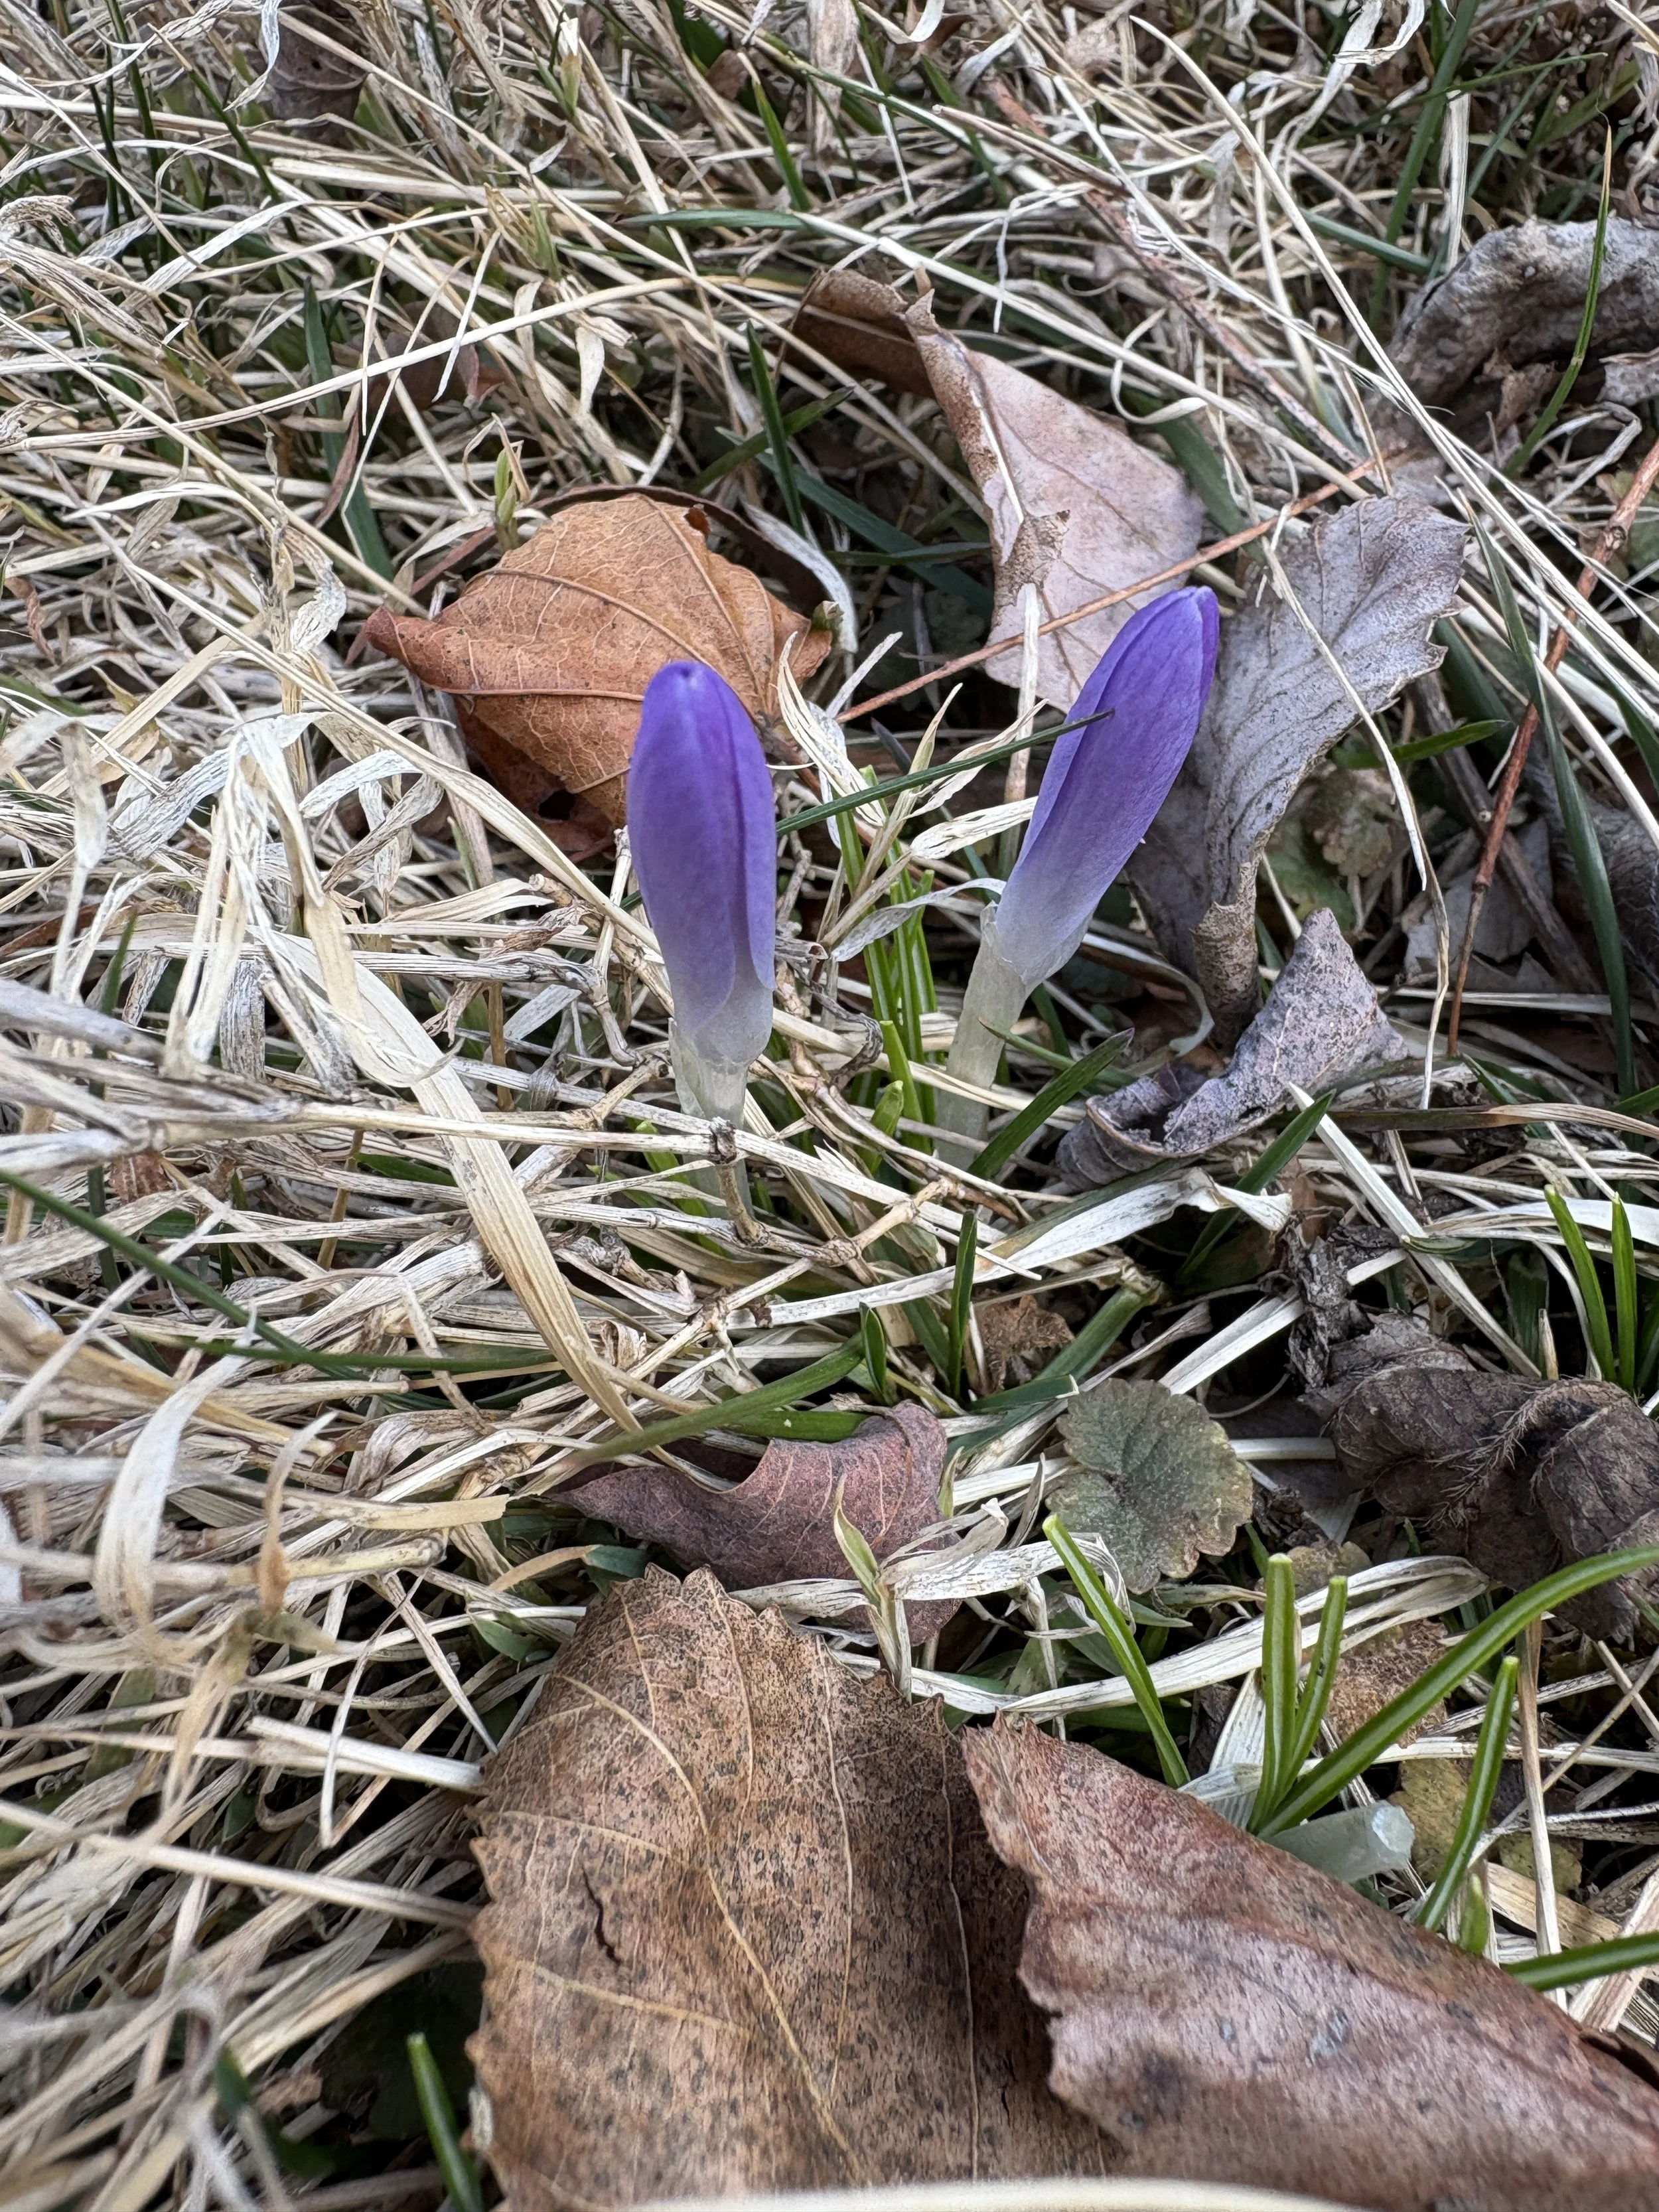
Hellebores are known commonly as The Lenten Rose because they bloom in the winter, generally between February and April, around the time of Lent. And although they are somewhat rose-like in appearance they belong to the buttercup family. Their colors range from white to dusty pink, pale yellow, muted green, burgundy, purple and I’ve even seen coral.

they must be shy
Interestingly the flower of the Hellebore faces down in the garden so I had to position my camera underneath to get these photos. I like to think they are just timid and shy but Hellebores face downwards to protect the internals of the flower and to allow successful pollination.

Easy to Grow
Hellebores are shade perennials that naturalize easily. I planted a few little baby springs about 3 years ago and my garden is now bursting. Hellebores spread rapidly thanks to their extensive root systems and self-seeding habits. I dedicated a side garden in the shade for them and I hope they eventually cover the whole thing. Some people regard them as invasive, but I don’t think I could ever get enough of them here at Windy Hill. They are among my favorites.

Pretty but Poisonous
As with many flowering plants, the Hellebores are poisonous if ingested, so be sure to keep them out of the mouths of young children and pets. But on a positive note, deer do not go near them!

Hellelore
The Hellebore flower has a dark and mysterious reputation in folklore. They are often associated with rituals of protection and banishment. In ancient times, the plant was believed to have the power to ward off evil spirits and protect against witchcraft. Click here if you want to read more about the legends and myths surrounding Hellebore.

Use as Sculpture
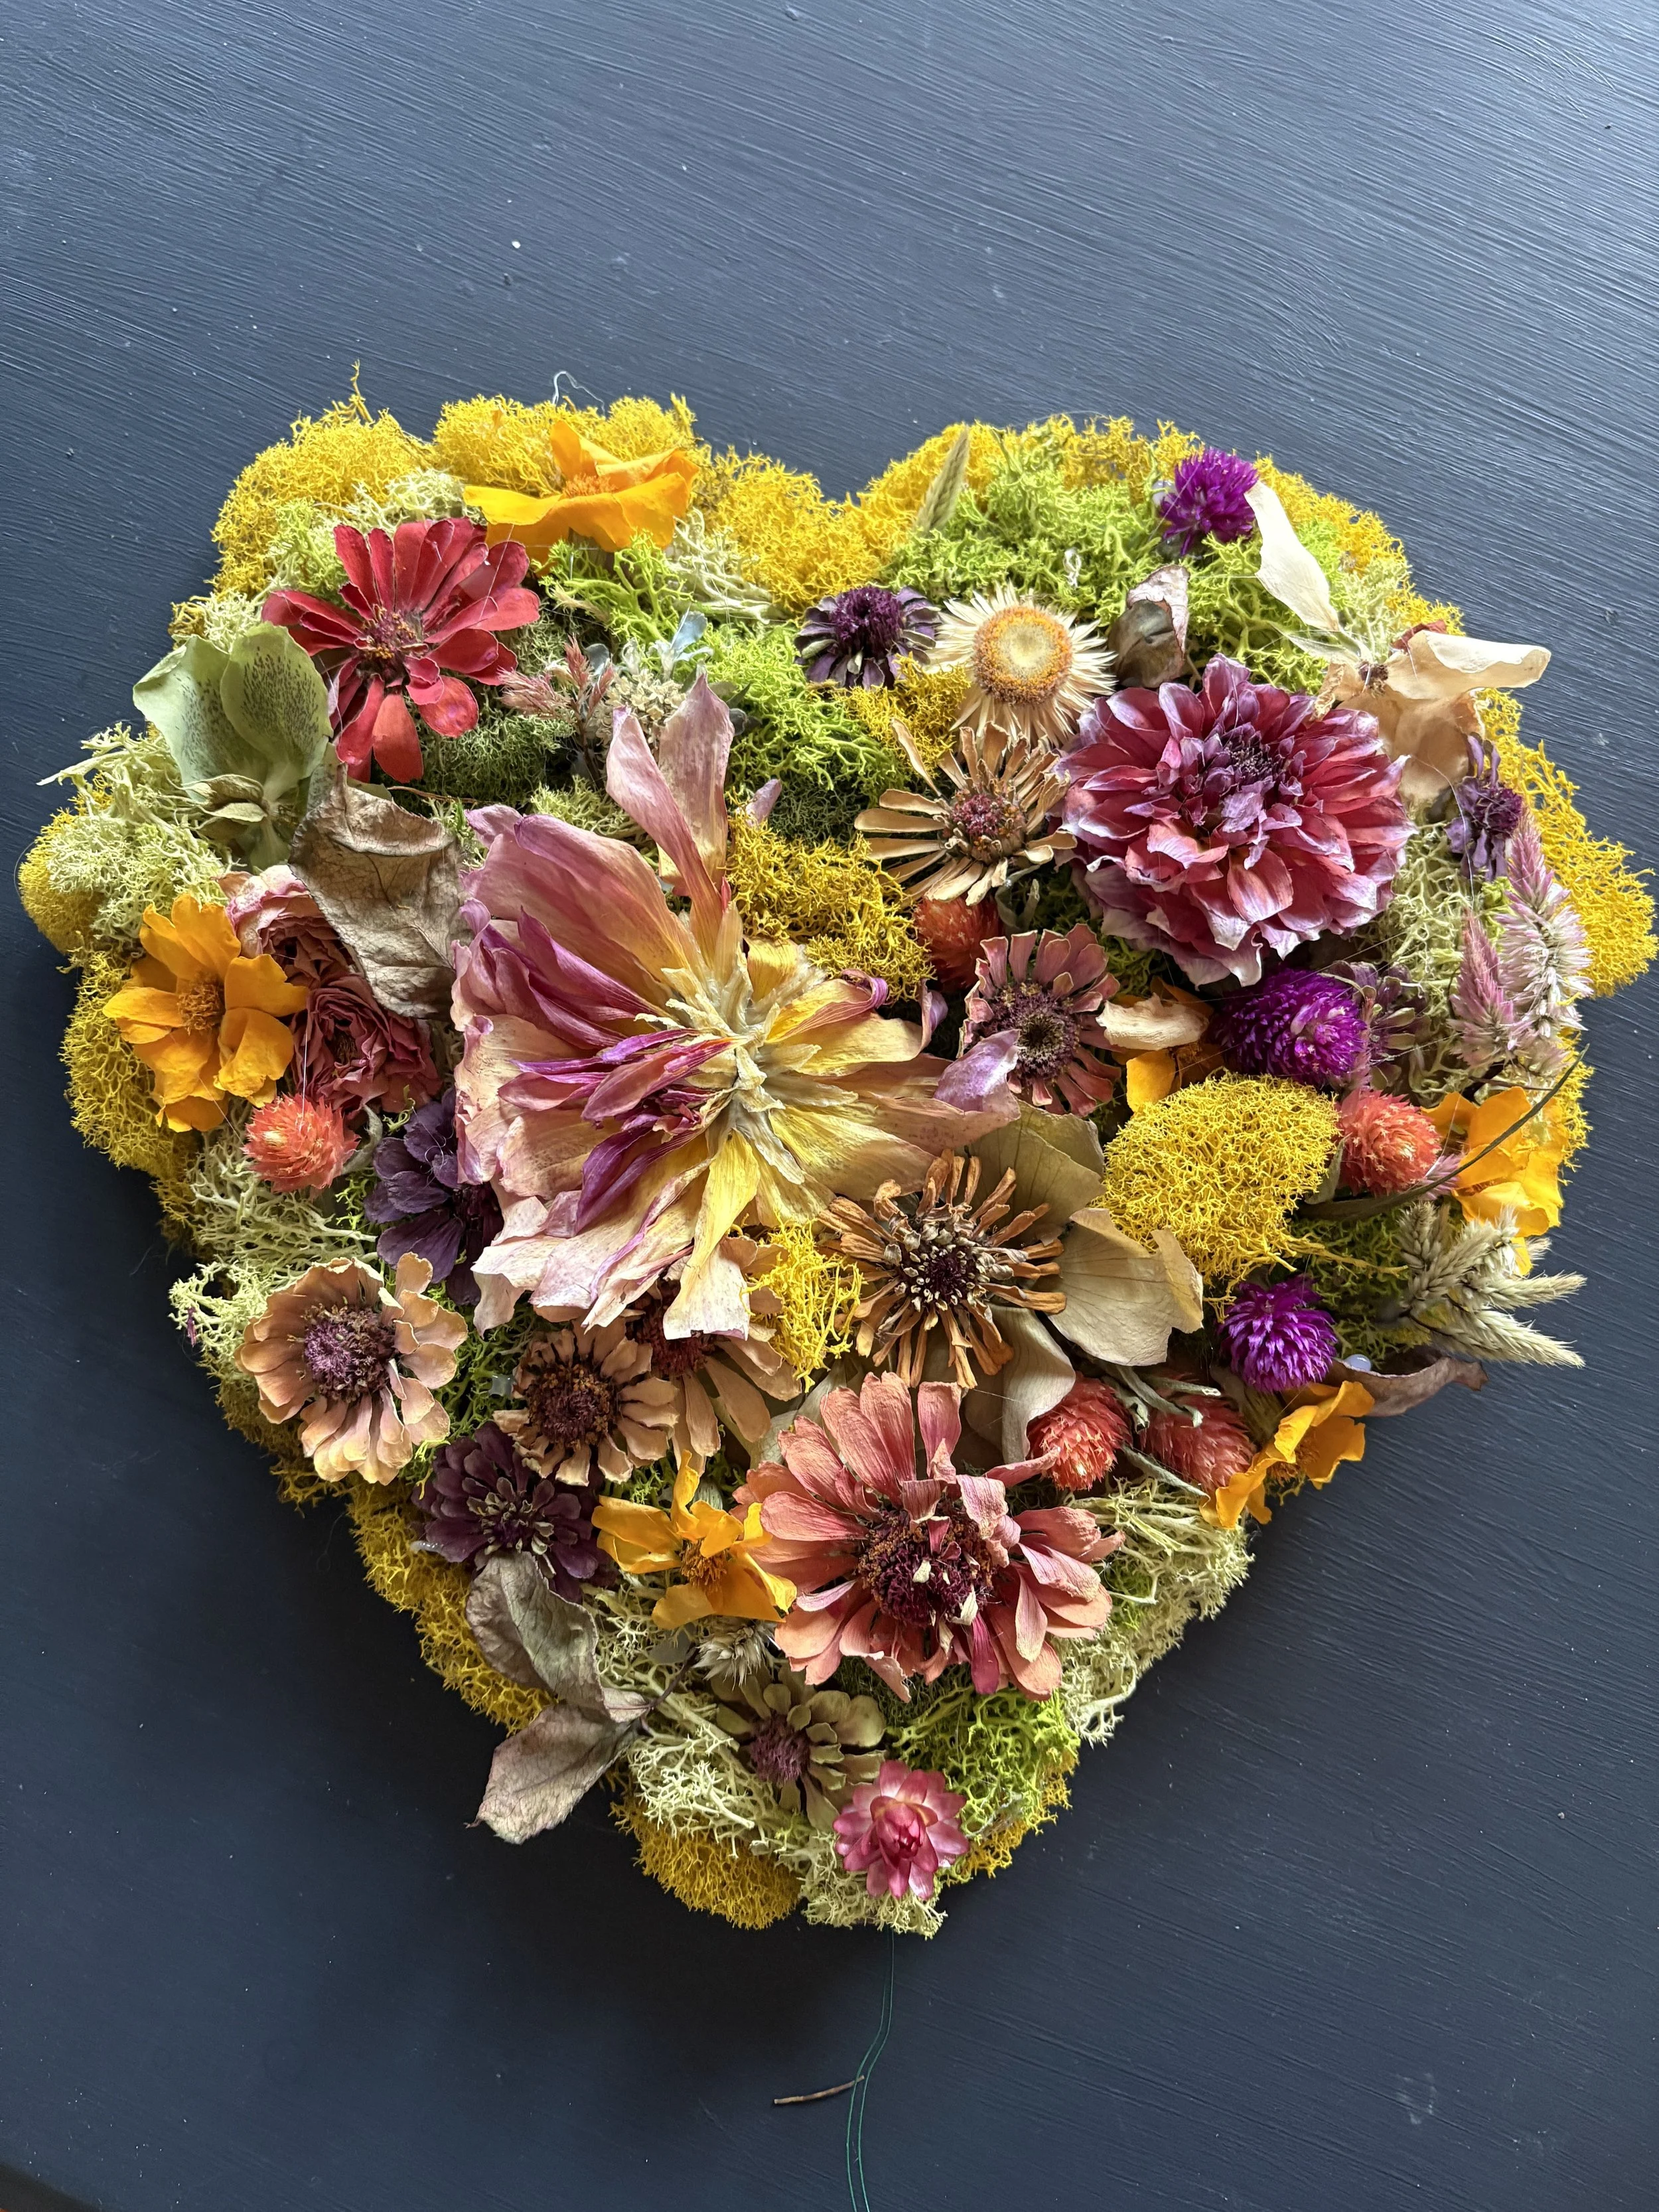
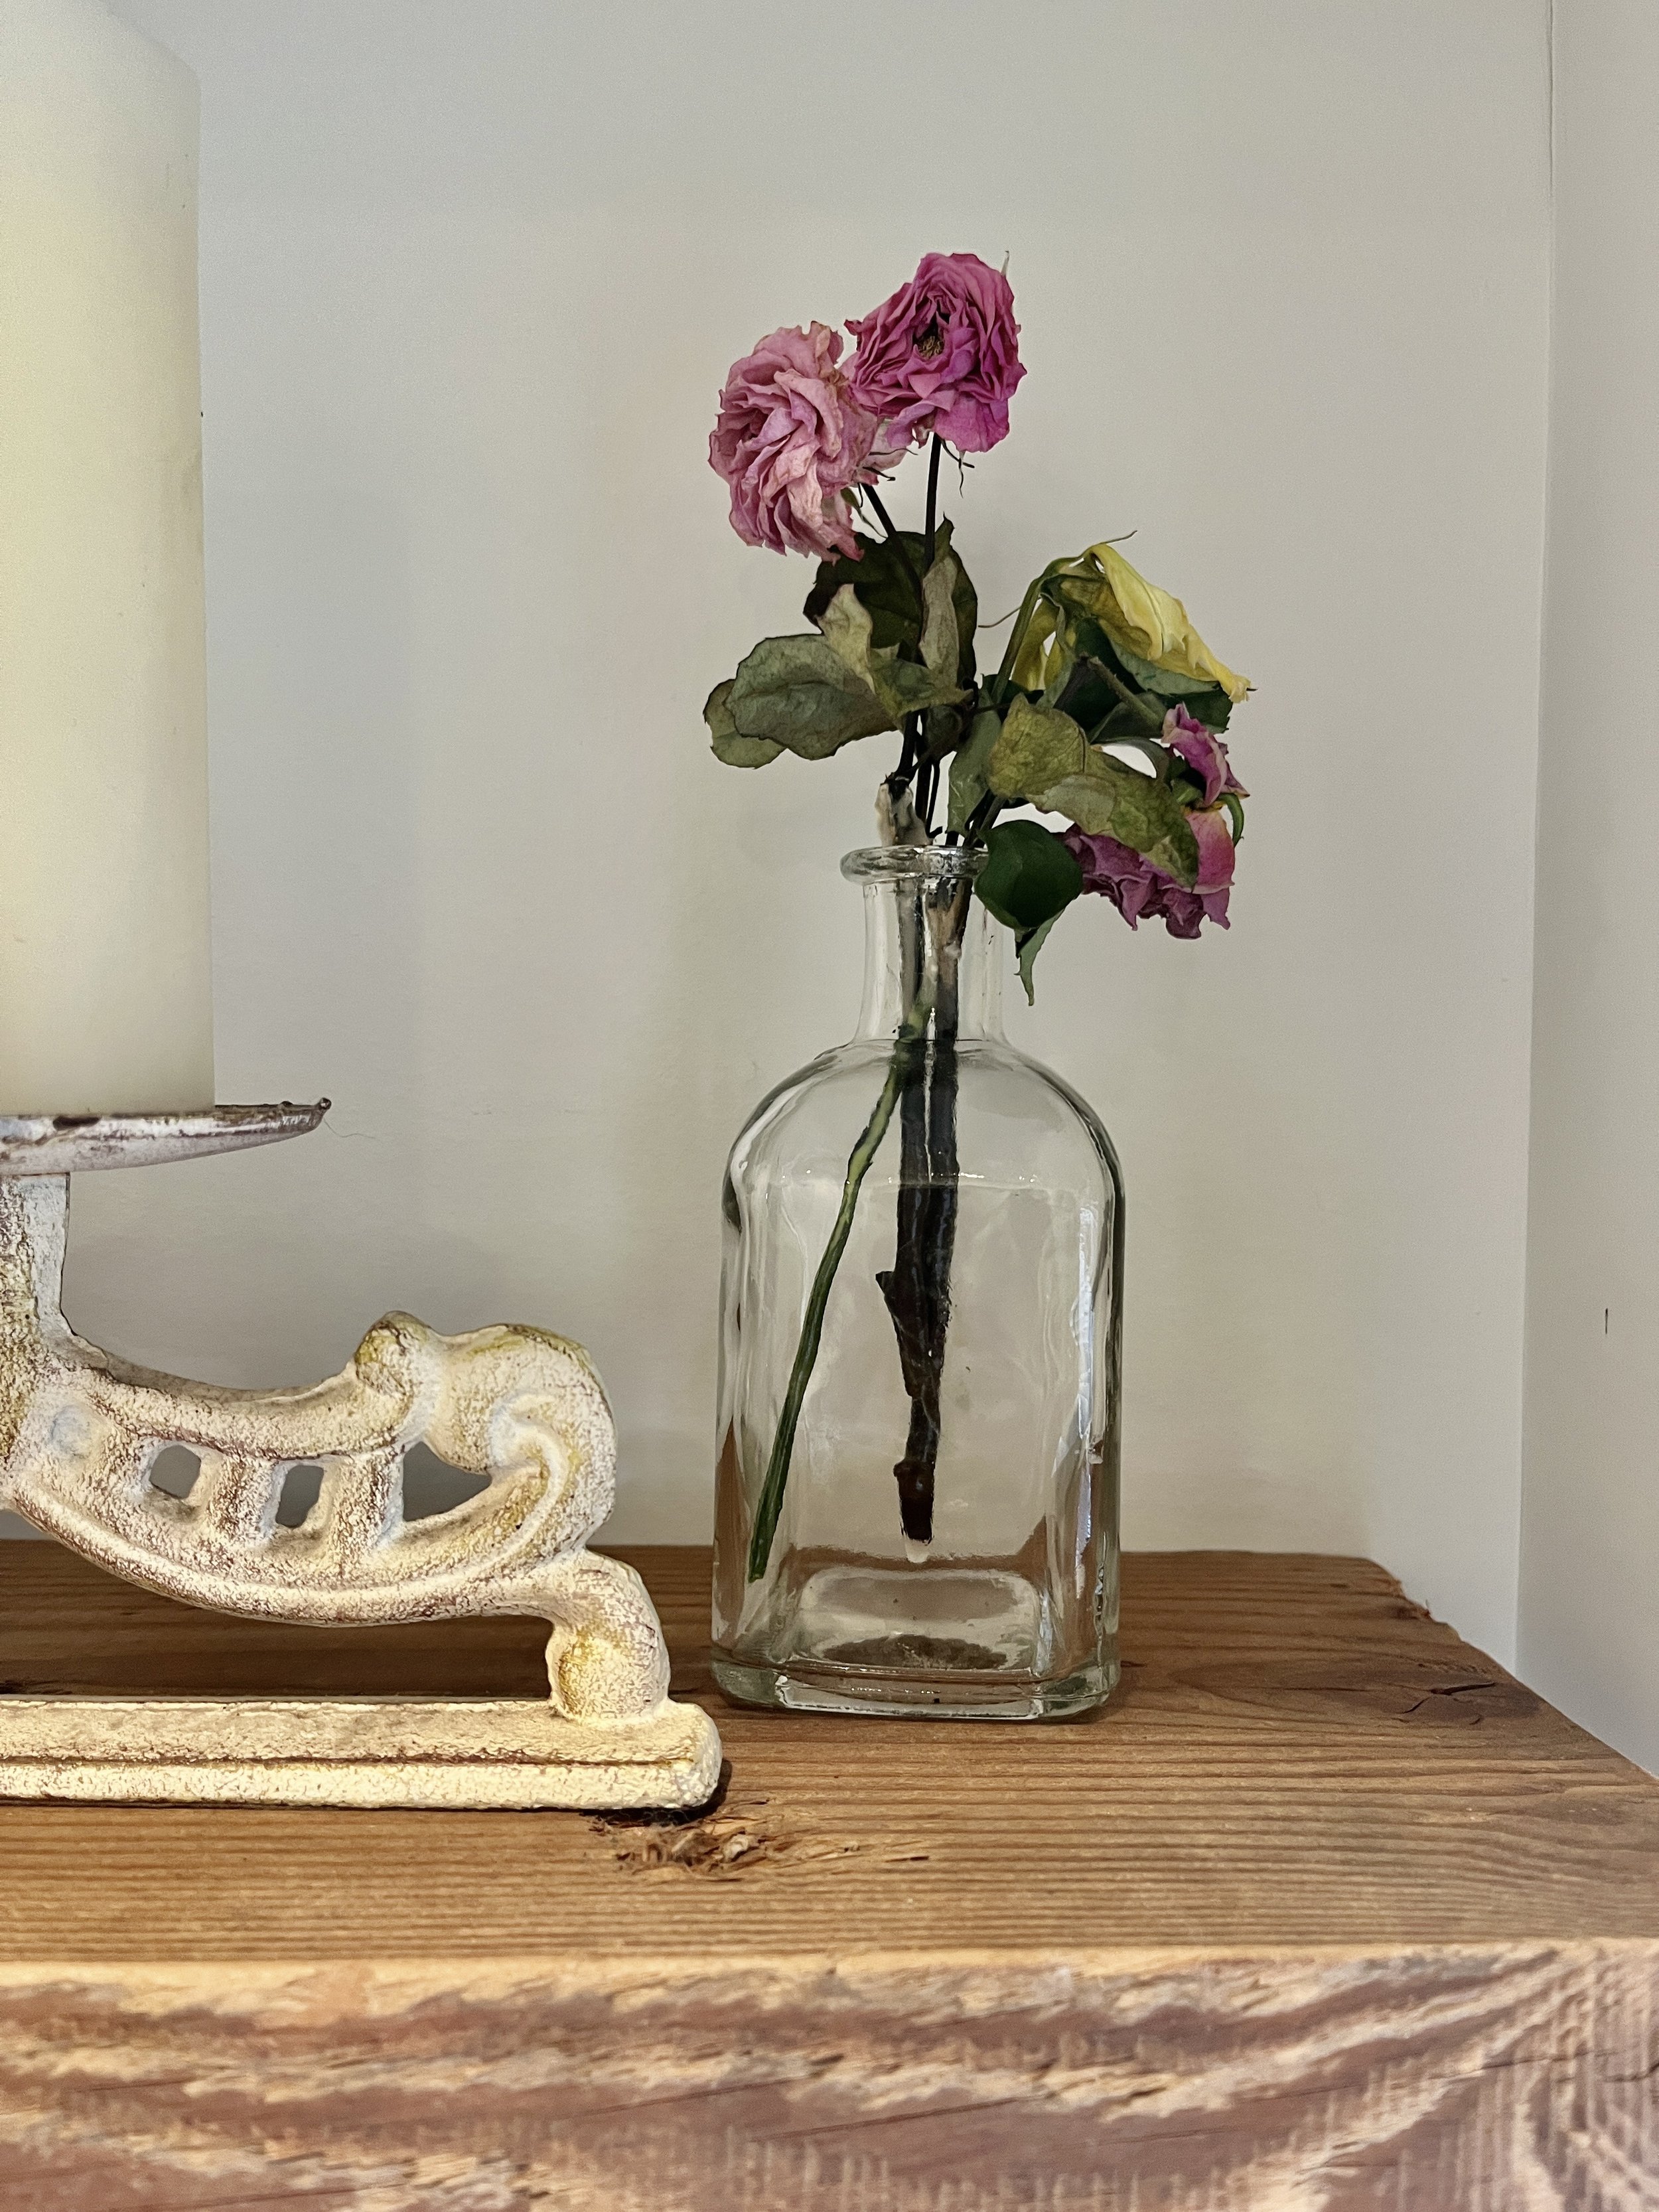
Last year I didn’t want my beautiful Hellebores to end, so I preserved a few stems in silica-drying crystals and displayed them with my dried Hydrangea. This arrangement lasted all year and still has some life. I love the sculptural aspect of it and the way it contrasts with the white pot.

If you fell in love with Hellebore long ago, or are just learning about them now, I hope you take the time to plant some this spring. By next Lent you should see some beautiful blooms. I’ve provided a few links below for your convenience.


I may sometimes use affiliate links, which means I’ll make a small commission, but the price you pay will be the same whether you use the affiliate link or go directly to the vendor’s website. Thank you.